
1. Bubuka
Thank you for choosing the VONROC 20V Cordless Grass Trimmer GT501. This manual provides essential information for the safe and efficient operation, assembly, maintenance, and troubleshooting of your new tool. Please read this manual thoroughly before use and keep it for future reference.
The VONROC 20V Cordless Grass Trimmer is designed for trimming grass and weeds in areas inaccessible to lawnmowers, such as around trees, fences, and along edges. Its cordless design offers freedom of movement without the hassle of power cords.
2. Parentah Kasalametan
WARNING: Always wear safety glasses to protect against projected debris. Maintain a safe distance from people and objects during operation. Do not use on slippery or unstable surfaces.
- Baca sagala parentah taliti saméméh operasi alat.
- Keep hands and feet away from the cutting line.
- Pastikeun batre tos dicas pinuh sateuacan dianggo.
- Remove the battery before cleaning, maintenance, or when not in use.
- Ulah ngajalankeun trimmer dina kondisi baseuh atawa hujan.
- Inspect the cutting line and guard for damage before each use.
- Simpen alat dina tempat anu garing, aman, jauh tina jangkauan barudak.
3. Eusi Paket
The VONROC 20V Cordless Grass Trimmer GT501 package typically includes the following items:
- VONROC 20V Cordless Grass Trimmer (GT501)
- Batré 20V 2.0 Ah
- Carjer batré
- Pangawal Kasalametan
- Gagang bantu
- Spool with 8m (2x4m) cutting line
- Instruksi Manual
4. Setup jeung Majelis
Follow these steps to assemble your grass trimmer:
4.1 Masang Pelindung Kasalametan
Align the safety guard with the mounting points on the trimmer head. Secure it firmly using the provided screws or clips. Ensure it is properly seated to protect against debris.

Image: Close-up of the trimmer head showing the attached safety guard and cutting line.
4.2 Masang Gagang Bantu
Geserkeun gagang bantu kana aci utama. Atur posisina supados nyaman dioperasikeun sareng kencengkeun mékanisme konci.

Image: The complete VONROC GT501 grass trimmer, illustrating the main components including the handle and battery.
4.3 Ngecas sareng Masang Batré
Insert the 20V battery into the charger and plug the charger into a power outlet. The indicator light will show charging status. Once fully charged, slide the battery into the designated slot on the trimmer handle until it clicks into place.
5. Parentah Operasi
Before starting, ensure all safety precautions are followed and the trimmer is properly assembled.
5.1 Adjusting the Telescopic Lance and Head Angle
The GT501 features a telescopic lance for height adjustment and a rotatable head for various trimming tasks. Loosen the locking collar on the telescopic shaft to extend or retract it to your desired length. Tighten the collar to secure.
To adjust the head angle, press the release button or lever near the trimmer head and rotate the head to the desired position (e.g., for edge trimming). Release the button to lock the head in place.

Image: A detailed diagram illustrating the various angle adjustments and telescopic extension of the trimmer.
5.2 Ngamimitian sareng Ngeureunkeun Trimmer
To start, press the safety lock-off button and then squeeze the trigger switch. To stop, release the trigger switch.
5.3 Téhnik motong
- Trimming umum: Hold the trimmer firmly with both hands. Swing the trimmer from side to side, keeping the cutting line parallel to the ground.
- Pangkas Tepi: Rotate the trimmer head to a vertical position. Use the dual side wheels for stability and guidance along paths or flowerbeds.
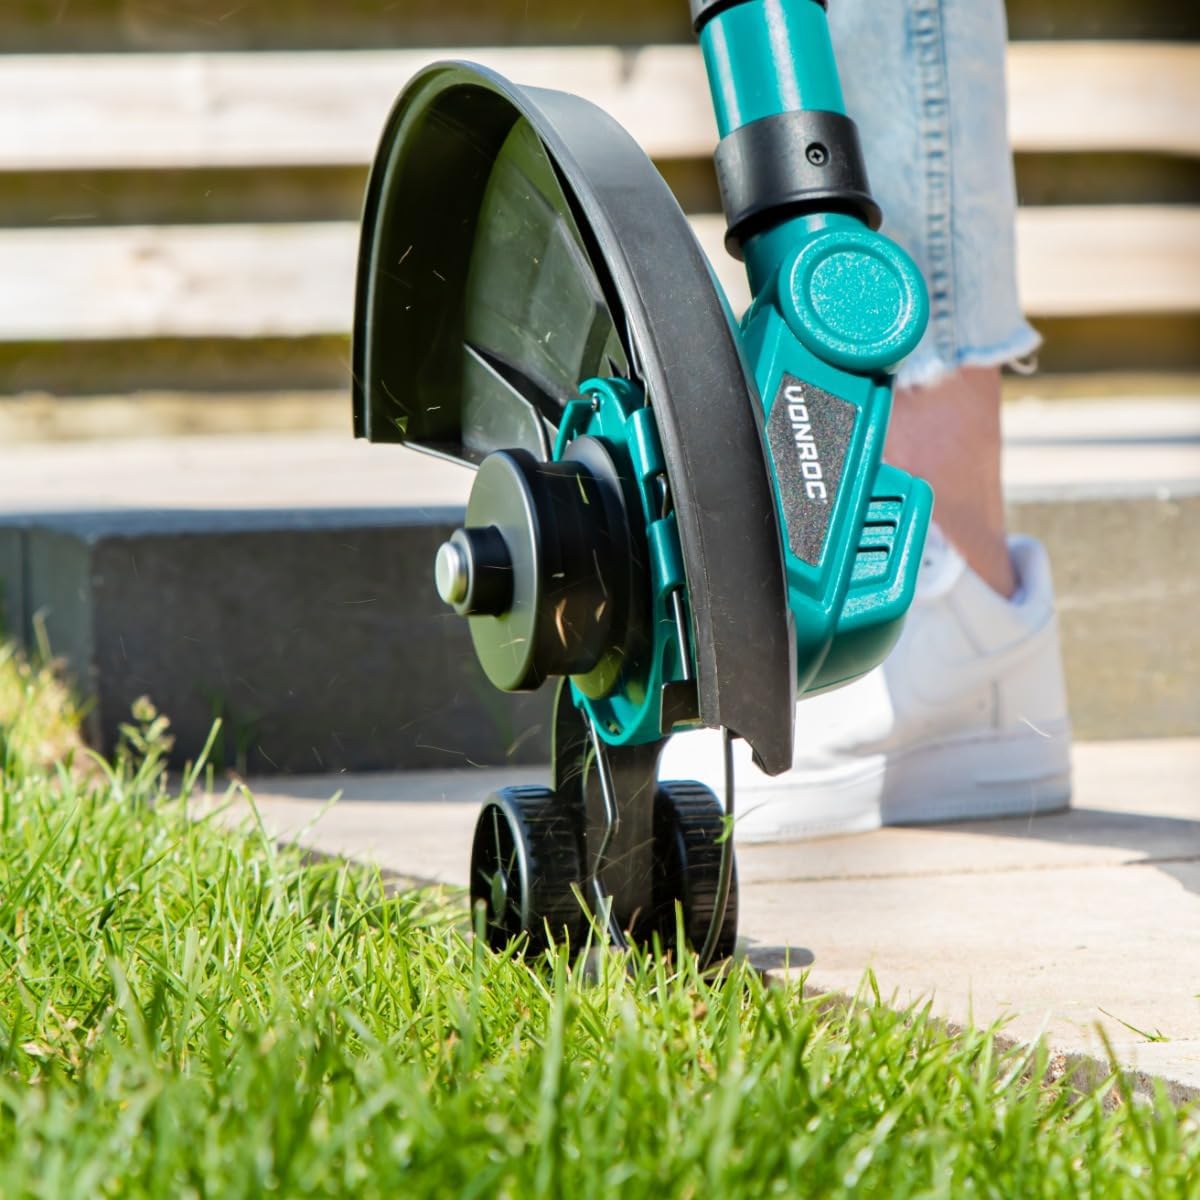
Image: The trimmer in action, demonstrating its use for precise edge trimming with the aid of its dual wheels.

Image: A user operating the trimmer to maintain neat edges in a garden setting.
5.4 Tap & Go Line Feed System
The GT501 features a Tap & Go system for line advancement. To feed more cutting line, gently tap the trimmer head on the ground while the motor is running. The line will automatically extend, and the blade on the guard will cut it to the correct length.
6. Pangropéa
Pangropéa rutin ngajamin kinerja optimal sareng manjangkeun umur trimmer anjeun.
- beberesih: After each use, remove the battery and clean the trimmer head, guard, and housing with a damp cloth. Remove any grass clippings or debris. Do not use harsh chemicals.
- Ngaganti garis: When the cutting line runs out, replace the spool with a new one. Refer to the product specifications for the correct line type and diameter.
- Panyimpenan: Store the trimmer in a dry, well-ventilated area, away from direct sunlight and extreme temperatures. Ensure the battery is removed for long-term storage.
7. Cara ngungkulan
If you encounter issues with your VONROC GT501, refer to the following common problems and solutions:
| Masalah | Mungkin Cukang lantaranana | Solusi |
|---|---|---|
| Trimmer henteu ngamimitian | Battery not charged or improperly inserted; Safety lock-off not engaged. | Charge battery fully and ensure it is clicked into place. Press safety lock-off before trigger. |
| Tali motong teu asup kana dahareun | Line tangled or empty; Tap & Go not performed correctly. | Tap trimmer head firmly on ground while running. If still no feed, replace spool. |
| Ngurangan kinerja motong | Line too short or worn; Battery low. | Advance cutting line or replace spool. Recharge battery. |
| Geter kaleuleuwihi | Damaged cutting line or spool; Loose components. | Inspect and replace cutting line/spool if damaged. Check all connections are secure. |
If the problem persists after attempting these solutions, please contact VONROC customer support.
8. Spésifikasi
Detailed specifications for the VONROC 20V Cordless Grass Trimmer GT501:
- Jumlah modél: GT501
- merek: VONROC
- Sumber Daya: Batré Powered
- Batré Voltage: 20V
- Lebar motong: 25 cm (250 mm)
- Garis motong: Double line, 8m total (2x4m)
- beurat: 2.3 kg
- Ukuran produk (L x W x H): 1 x 1 x 12.7 cm (Note: These dimensions seem to be for packaging or a component, not the full assembled tool.)
- Fitur: Telescopic Lance, Tap & Go System, Dual Side Wheels, Rotatable Head
9. Garansi jeung Rojongan
VONROC products are manufactured to high-quality standards. For information regarding warranty coverage, product registration, or technical support, please refer to the warranty card included with your purchase or visit the official VONROC websitus. Simpen bukti pameseran anjeun pikeun klaim garansi.
For direct assistance, please contact VONROC customer service through their official channels.