
1. Bubuka jeung Leuwihview
The Telwin Drive 1800 Kompressor is a compact, multi-functional 12V lithium emergency starter designed for various vehicles including motorcycles, cars, campers, marine engines, and vans. This device integrates an air compressor for tire inflation, a power bank for electronic device charging, and a high-intensity LED light. It utilizes high-efficiency LiPo lithium batteries for quick and complete charging, ensuring a compact and lightweight design. This manual provides essential information for the safe and effective use of your device.
2. Émbaran Kasalametan
Baca sadaya peringatan sareng parentah kaamanan sateuacan nganggo produk ieu. Paranti nuturkeun parentah ieu bisa ngakibatkeun shock listrik, seuneu, jeung/atawa tatu serius.
- Perlindungan panon: Salawasna ngagem panyalindungan panon nalika damel sareng aki-aki.
- Ventilasi: Ensure adequate ventilation when charging or jump-starting to prevent accumulation of explosive gases.
- Asam batré: Battery acid is corrosive. If contact occurs, flush immediately with water and seek medical attention.
- Percikan Api jeung Seuneu: Keep sparks, flames, and smoking materials away from the battery and jump starter.
- Frozen Batteries: Pernah nyobian luncat-ngamimitian batré beku.
- Barudak: Jauhkeun alat tina jangkauan barudak.
- Over-inflasi: Do not over-inflate tires or other items. Follow manufacturer's recommended pressure.
- Panas: The compressor and hose may become hot during prolonged use. Allow to cool before handling.
- Ngecas: Use only the provided charging cable. Do not expose the device to rain or wet conditions.
3. Eusi Paket
Pastikeun yén sadaya item aya dina bungkusan:
- Telwin Drive 1800 Kompressor Unit
- Starting Cables (Jump Start Clamps)
- Kabel Ngecas USB-C
- Removable Air Hose
- 3 Inflasi Nozzles
- Panyimpenan Case

Figure 3.1: Included accessories for the Telwin Drive 1800 Kompressor.
4. Fitur produk jeung komponén
Familiarize yourself with the main components of your Telwin Drive 1800 Kompressor.

Gambar 4.1: Hareupeun view of the Telwin Drive 1800 Kompressor.

Gambar 4.2: Tukangeun view with charging and output ports.

Gambar 4.3: Detil view tina panel kontrol.
- Layar LCD: Shows inflation modes, pressure readings, and battery status.
- Tombol kontrol: Power, mode selection, pressure adjustment (+/-), and LED light activation.
- Palabuhan Mimitian Luncat: For connecting the jump start cables.
- USB-A Output (OUT: 5V==2.4A): For charging electronic devices.
- USB-C Input (IN: 5V==2A): For charging the Telwin Drive 1800 Kompressor unit.
- Sambungan Selang Udara: For attaching the removable air hose.
- Lampu LED: High-intensity light with multiple operating modes.
5. Setélan
5.1 Ngecas Awal
Before first use, fully charge the Telwin Drive 1800 Kompressor. Connect the provided USB-C charging cable to the USB-C input port on the device and to a suitable USB power adapter (not included). The LCD display will indicate charging status. Charging time may vary.
5.2 Ngapasangkeun Selang Udara
To use the compressor function, securely screw the removable air hose into the designated port on the device. Ensure a tight connection to prevent air leakage.
6. Parentah Operasi
6.1 Luncat Mimitian Kandaraan
- Ensure the Telwin Drive 1800 Kompressor is sufficiently charged.
- Pareuman konci kontak kendaraan sareng sadaya asesorisna.
- Nyambungkeun BEureum positip (+) clamp ka terminal positif (+) batré kendaraan.
- Nyambungkeun HIDEUNG négatip (-) clamp to a metal part of the vehicle's chassis, away from the battery and fuel lines. Do not connect directly to the negative battery terminal unless specified by the vehicle manufacturer.
- Pastikeun clamps are securely attached and do not touch each other.
- Turn on the Telwin Drive 1800 Kompressor.
- Start the vehicle. If it doesn't start immediately, wait 30 seconds and try again. Do not crank for more than 3 seconds per attempt.
- Sakali kendaraan dihurungkeun, langsung pegatkeun sambungan listrikna HIDEUNG négatip (-) clamp kahiji, teras teh BEureum positip (+) clamp.

Figure 6.1: Jump starting a vehicle using the Telwin Drive 1800 Kompressor.
6.2 Ngagunakeun Kompresor Udara
- Ensure the air hose is securely attached to the device.
- Select the appropriate inflation nozzle and attach it to the air hose.
- Connect the nozzle to the item to be inflated (e.g., tire valve).
- Turn on the Telwin Drive 1800 Kompressor.
- Use the mode button to select the desired inflation mode (car, SUV, bicycle, inflatables, custom).
- Use the +/- buttons to set the target pressure. The LCD display will show the current and target pressure.
- Press the power button to start inflation. The compressor will automatically stop when the target pressure is reached.
- Disconnect the nozzle and air hose.
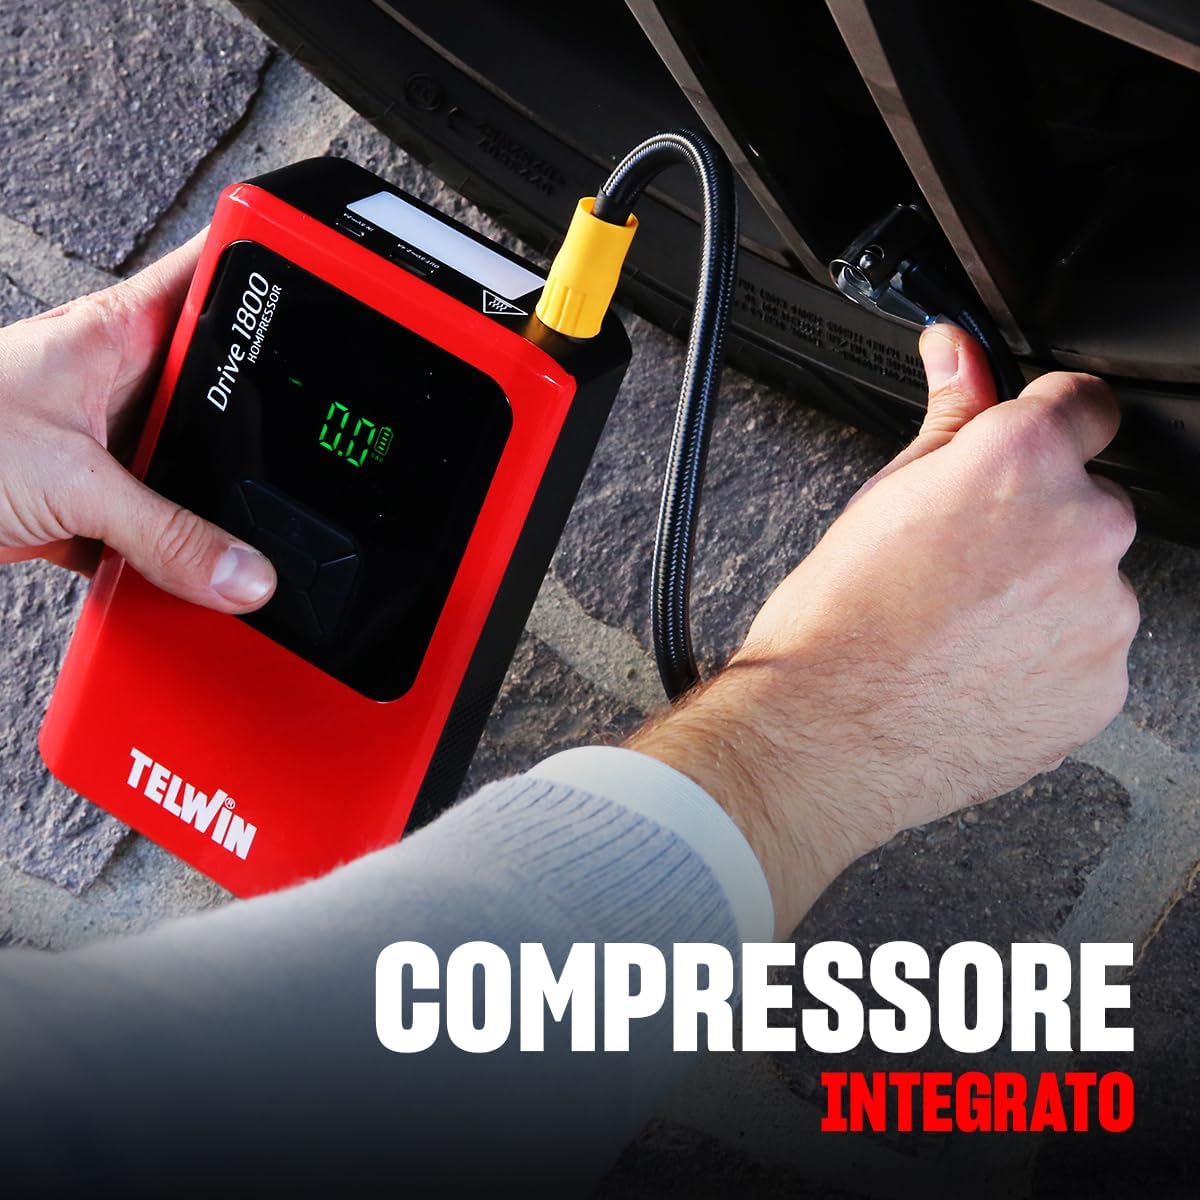
Figure 6.2: Inflating a car tire with the integrated compressor.
6.3 Ngagunakeun salaku Power Bank
To charge electronic devices, connect your device's USB charging cable to the USB-A output port (OUT: 5V==2.4A) on the Telwin Drive 1800 Kompressor. The device will automatically begin charging.
6.4 Ngagunakeun Lampu LED
Press the dedicated light button on the control panel to cycle through the LED light modes:
- Lampu Maneuh: Pikeun katerangan umum.
- Lampu Strobe: Pikeun méré sinyal atawa narik perhatian.
- Modeu SOS: Flashes the international S.O.S. signal.
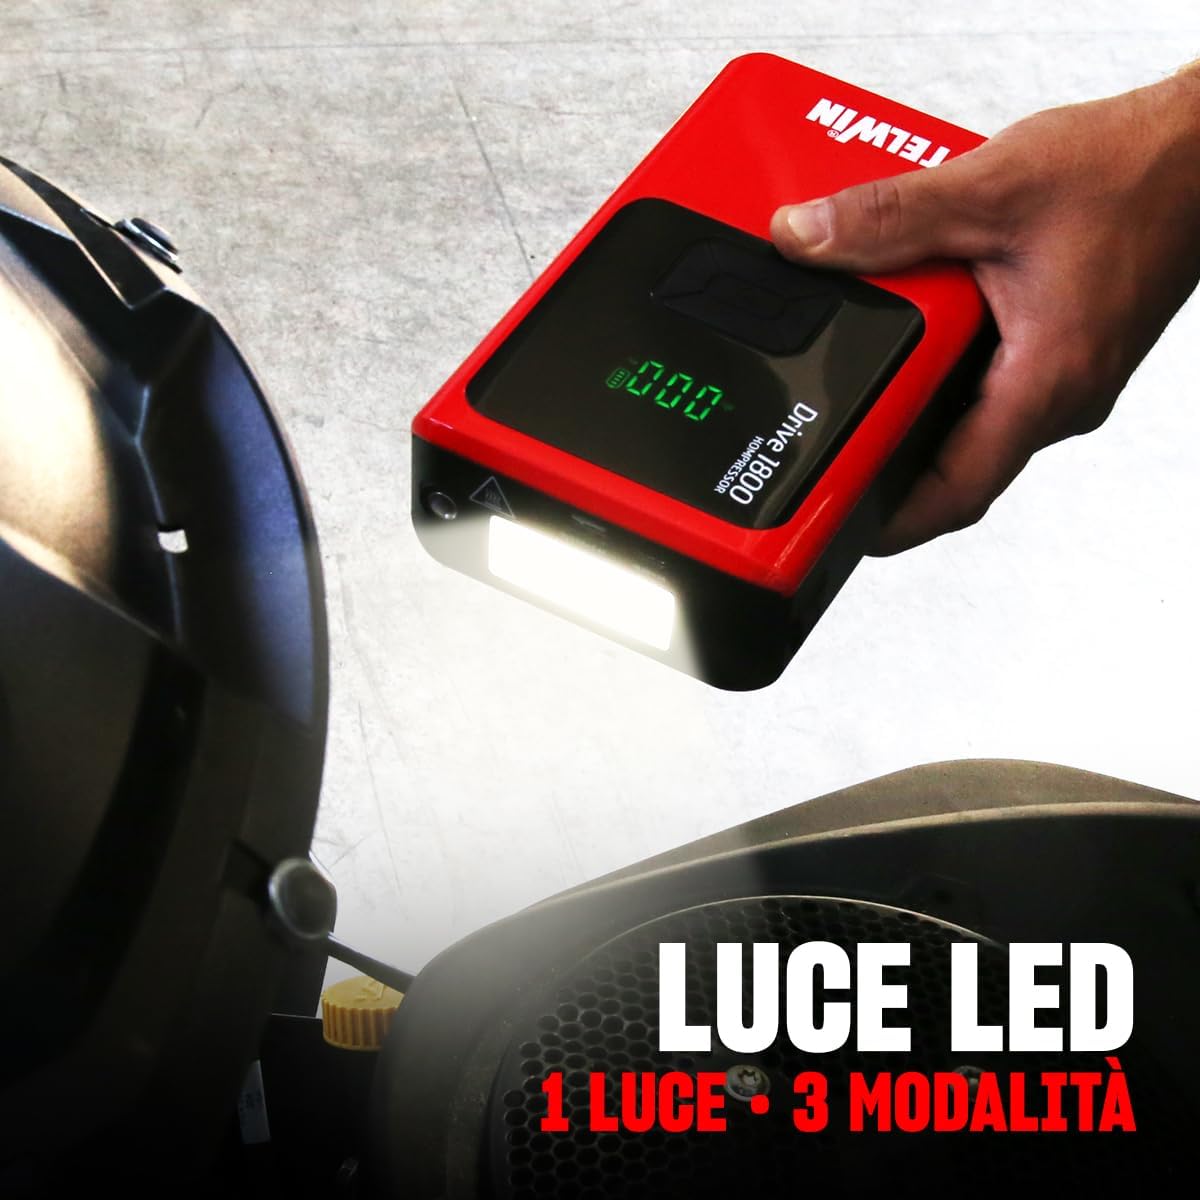
Figure 6.3: The LED light in operation.
7. Pangropéa
- Ngecas: For optimal battery life, recharge the device every 3-6 months, even if not in use.
- beberesih: Wipe the exterior with a soft, dry cloth. Do not use harsh chemicals or abrasives.
- Panyimpenan: Simpen alat ieu di tempat anu tiis sareng garing, jauh tina sinar panonpoé langsung sareng suhu anu ekstrim. Pastikeun alatna parantos dicas pinuh sateuacan disimpen dina jangka panjang.
- Filter hawa: Periodically check the air intake vents for dust or debris and clean if necessary to maintain compressor efficiency.
8. Cara ngungkulan
| Masalah | Mungkin Cukang lantaranana | Solusi |
|---|---|---|
| Alat henteu hurung. | Batré béak. | Cas alat nepi ka pinuh nganggo kabel USB-C. |
| Kandaraan teu luncat ngamimitian. | Lepat clamp connection; vehicle battery too deeply discharged; device battery too low. | Pariksa clamp connections (red to +, black to chassis); ensure device is fully charged; consult vehicle manual. |
| Compressor not inflating. | Air hose not securely attached; nozzle not properly connected; target pressure not set. | Check all connections; ensure nozzle is firmly attached; set target pressure on the display. |
| Lampu LED teu jalan. | Device battery is depleted; light button not pressed correctly. | Charge the device; press the light button firmly to cycle modes. |
9. Spésifikasi
- model: Drive 1800 Kompressor
- Pabrikan: Telwin
- Beurat barang: 2 kg
- Ukuran Paket: 25.8 x 12.7 x 11 cm
- Jumlah modél: 829575
- Max Amperage: 1800 A
- Voltage: 12 volt
- Komposisi batré: Lithium-ion (LiPo)
- Compressor Max Pressure: Nepi ka 3.5 bar
- Kaluaran USB-A: 5V == 2.4A
- Input USB-C: 5V == 2A
10. Garansi jeung Rojongan
For warranty information and customer support, please refer to the documentation included with your purchase or visit the official Telwin websitus. Simpen bukti pameseran anjeun pikeun klaim garansi.