1. Bubuka
The Midiplus X4 mini is a compact and versatile 49-key velocity-sensitive MIDI keyboard controller designed for music production and performance. It features a USB connection for power and data, eliminating the need for external power supplies or drivers. This manual provides detailed instructions to help you set up, operate, and maintain your X4 mini controller.
2. Émbaran Kasalametan
- Ulah ngalaan unit ka hujan, Uap, atawa suhu ekstrim.
- Hindarkeun nempatkeun unit caket sumber panas atanapi dina sinar panonpoé langsung.
- Ulah muka casing or attempt to modify the unit. Refer all servicing to qualified personnel.
- Paké ngan kabel USB disadiakeun pikeun sambungan.
- Jauhkeun tina jangkauan barudak.
3. Eusi Paket
Mangga parios heula sadaya barang anu didaptarkeun di handap ieu kalebet kana pakét anjeun:
- Midiplus X4 mini MIDI Keyboard Controller
- Kabel USB
- Manual pangguna (dokumén ieu)
4. Produk Langkungview
Familiarize yourself with the various components of your Midiplus X4 mini controller.

Gambar 4.1: Hareupeun view of the Midiplus X4 mini, showing the 49 mini keys, pitch and modulation touch strips, octave/transpose buttons, four assignable knobs, and function buttons.
4.1 Kadali Panel hareup
- 49 Velocity-Sensitive Mini Keys: Standard piano-style keys, scaled down for portability.
- Pitch Bend Touch Strip: Provides real-time control over pitch modulation.
- Modulation Touch Strip: Provides real-time control over various modulation parameters.
- Octave/Transpose Buttons: Adjust the keyboard's octave range or transpose the pitch.
- Assignable Knobs (T1-T4): Four rotary knobs that can be assigned to control various MIDI Continuous Controller (CC) parameters.
- Tombol Fungsi: Used for various settings and advanced functions.

Gambar 4.2: Detail of the pitch and modulation touch strips, along with the Octave/Transpose buttons on the left side of the keyboard.
4.2 Sambungan Panel Rear
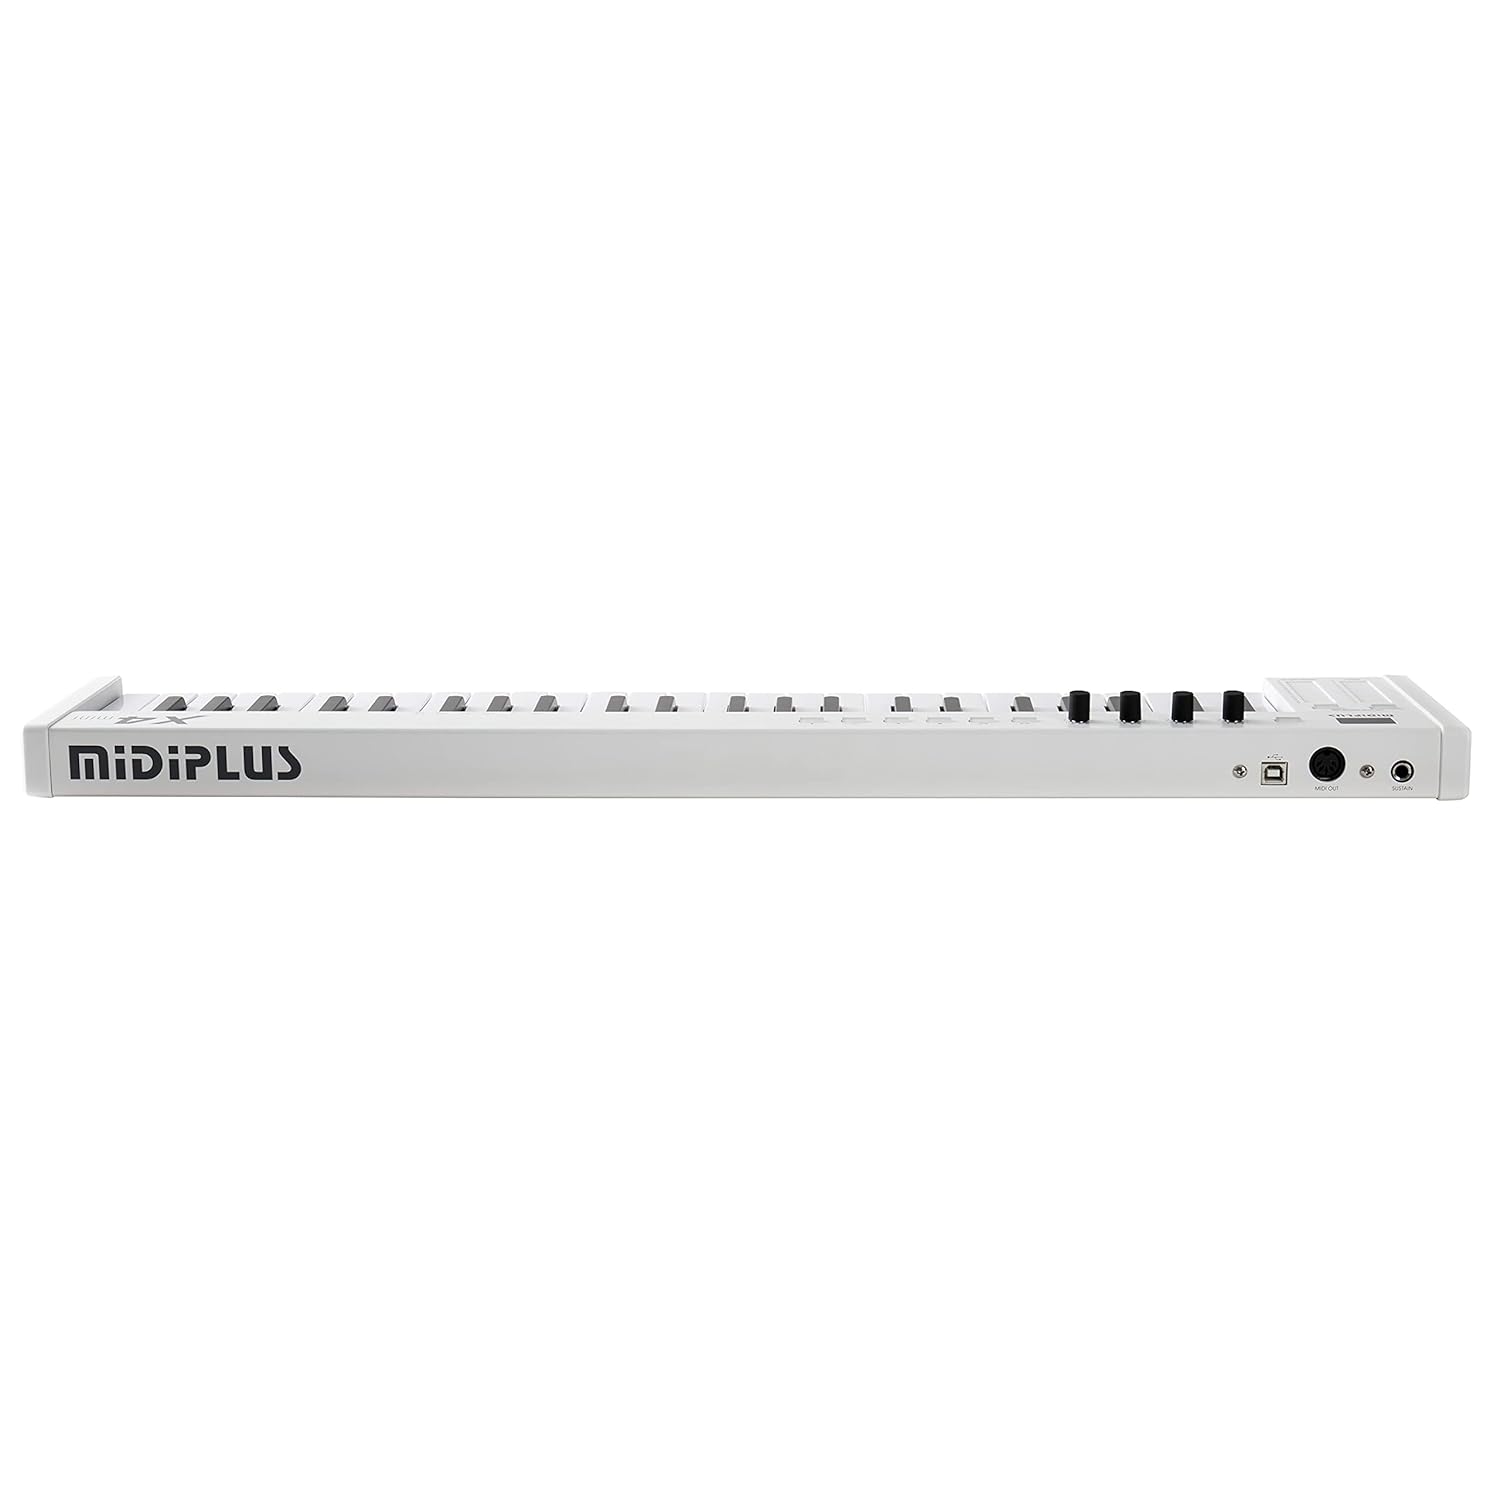
Gambar 4.3: Rear panel connections including USB, MIDI Out, and Sustain pedal input.
- Port USB: Connects to your computer for power and MIDI data transmission.
- MIDI OUT Port: Standard 5-pin DIN MIDI output for connecting to external MIDI hardware.
- Input Pedal Sustain: 1/4-inch jack for connecting an optional sustain pedal (not included).
5. Setélan
5.1 Nyambung kana Komputer
- Locate the USB port on the rear panel of your X4 mini controller.
- Connect one end of the provided USB cable to the X4 mini's USB port.
- Sambungkeun ujung kabel USB nu sejen ka port USB nu sadia dina komputer Anjeun.
- The X4 mini is a class-compliant device, meaning no special drivers are required for Windows (7/10) or Mac operating systems. Your computer should automatically recognize the device.
- Open your Digital Audio Workstation (DAW) software (e.g., Ableton Live, Logic Pro, GarageBand, FL Studio, Cubase) and select the Midiplus X4 mini as your MIDI input device in the software's preferences or settings.
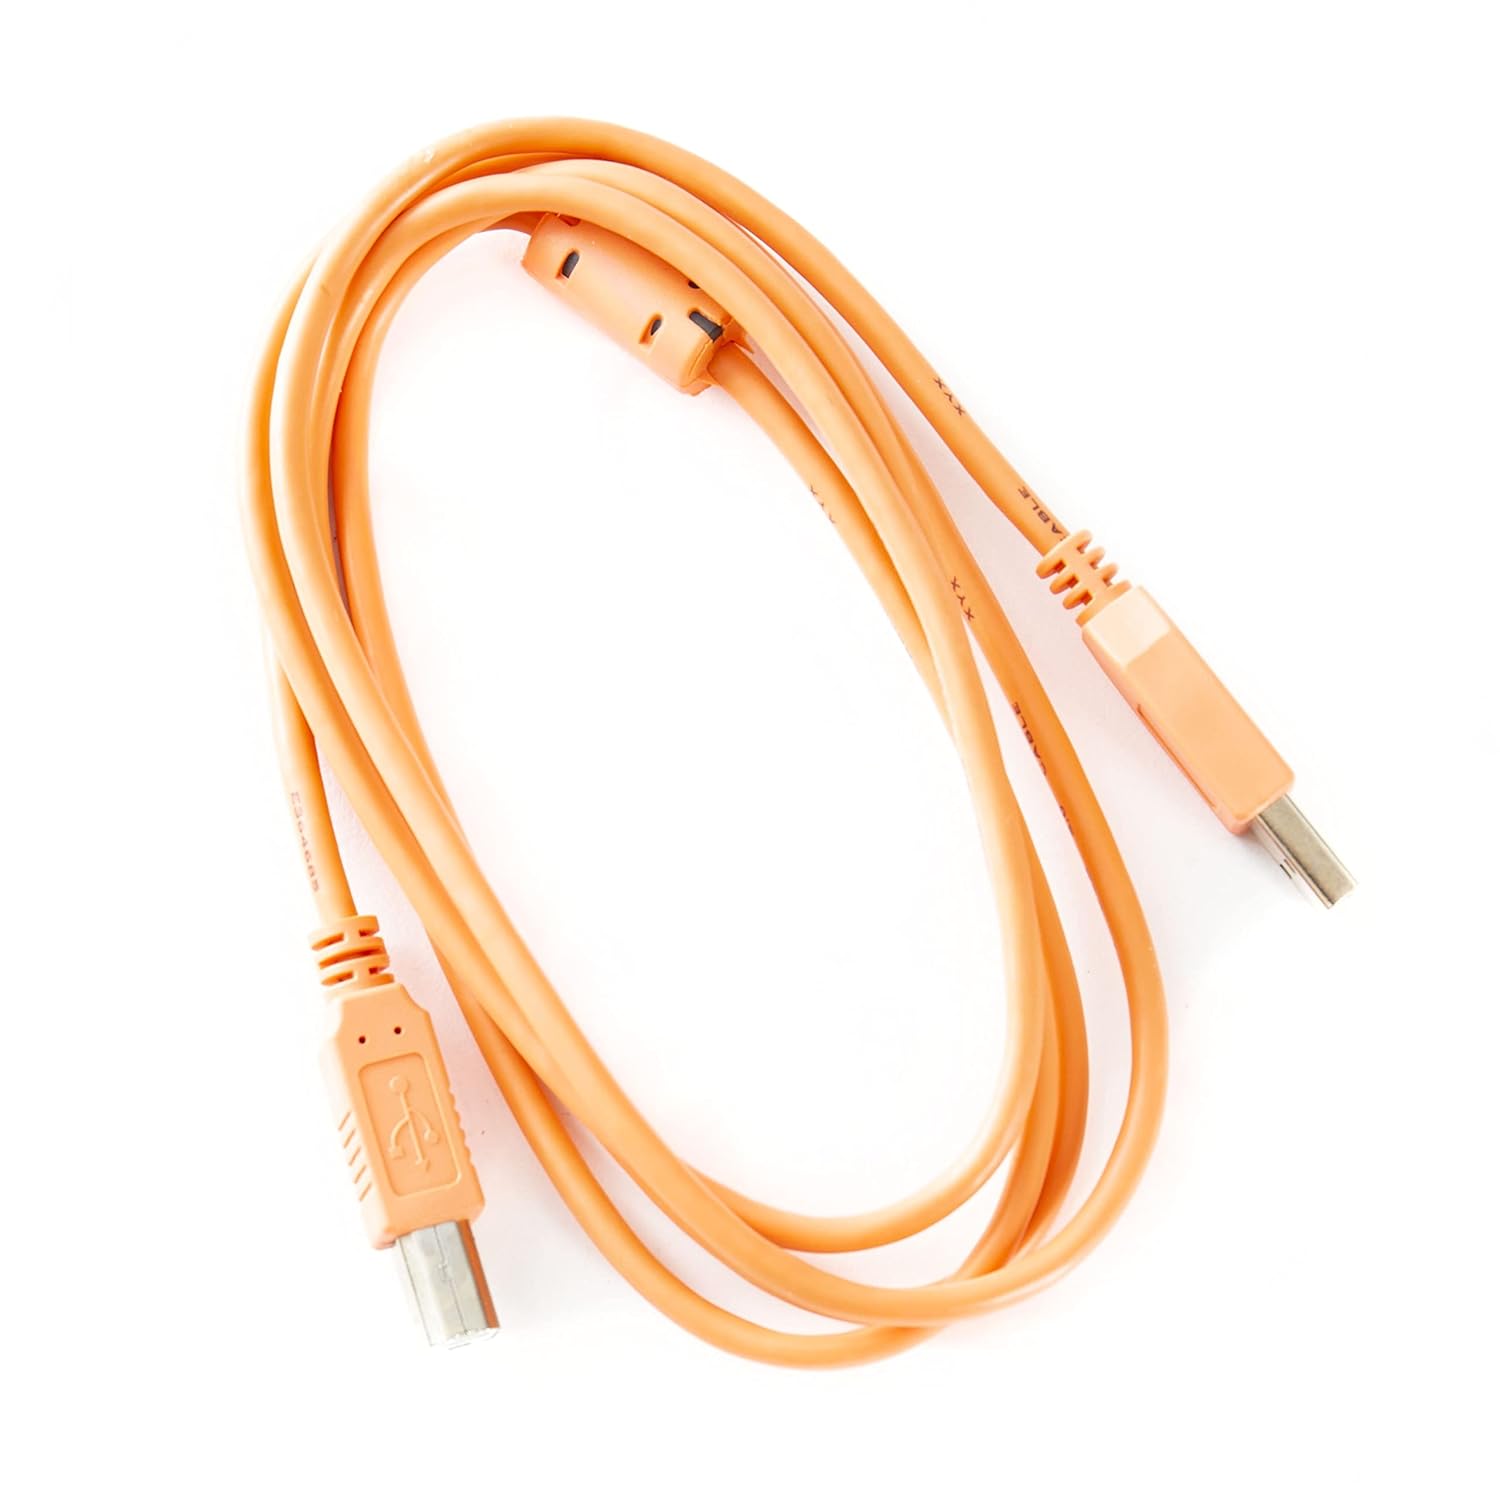
Gambar 5.1: The USB cable used for connecting the X4 mini to a computer.
5.2 Connecting to External MIDI Hardware
If you are connecting to an external synthesizer or sound module with a 5-pin DIN MIDI input:
- Connect a standard 5-pin MIDI cable (not included) from the X4 mini's MIDI OUT port to the MIDI IN port of your external hardware.
- Ensure your external hardware is powered on and configured to receive MIDI data on the appropriate channel.
6. Parentah Operasi
6.1 Playing the Keyboard
The 49 mini keys are velocity-sensitive, meaning the volume or intensity of a note can vary based on how hard you press the key. Experiment with different playing dynamics to achieve expressive performances.
6.2 Octave and Transpose Functions
- Tombol oktaf: Use the dedicated Octave Up and Octave Down buttons (located near the pitch/mod strips) to shift the keyboard's range up or down in full octaves.
- Transpose Function: The Octave buttons can also function as Transpose buttons when combined with the SHIFT key. Press and hold the SHIFT button, then use the Octave Up/Down buttons to transpose the keyboard by semitones.
6.3 Pitch Bend and Modulation
- Pitch Touch Strip: Slide your finger along this strip to bend the pitch of notes up or down. The pitch returns to center when released.
- Modulation Touch Strip: Slide your finger along this strip to apply modulation effects, such as vibrato or tremolo, to your sound. The specific effect depends on your software or hardware instrument's settings.
6.4 Assignable Knobs (T1-T4)
The four rotary knobs (T1-T4) send MIDI Continuous Controller (CC) messages. By default, these may control common parameters like volume or pan in your DAW. You can reassign these knobs to control specific parameters within your software instruments or effects.
- Consult your DAW or software instrument's manual for instructions on how to MIDI-learn or assign CC messages to parameters.
- The X4 mini also allows for on-the-fly reassignment of the CC messages sent by these knobs. Refer to the "Advanced Features" section for details.
7. Fitur canggih
7.1 Reassigning MIDI CC Messages for Knobs
The Midiplus X4 mini allows you to customize the MIDI CC messages sent by the T1-T4 knobs. This enables you to control a wider range of parameters in your software or hardware.
- Pencét jeung tahan tombol GILIH kancing.
- While holding SHIFT, press one of the function buttons (often labeled with CC numbers or functions) corresponding to the knob you wish to reassign.
- Use the keyboard keys to input the desired MIDI CC number. The specific keys for number input will be indicated on the keyboard itself or in a quick reference guide.
- Pencét éta Asupkeun or GILIH button again to confirm the assignment.
Note: The exact procedure for CC reassignment may vary slightly. Refer to the markings on your specific unit for precise key combinations.
7.2 Changing MIDI Channels
To change the MIDI channel on which the X4 mini transmits data:
- Pencét jeung tahan tombol GILIH kancing.
- While holding SHIFT, press the dedicated MIDI Channel button (if available) or a specific key designated for MIDI channel selection.
- Use the keyboard keys to input the desired MIDI channel number (1-16).
- Pencét éta Asupkeun or GILIH button again to confirm the new MIDI channel.
8. Pangropéa
- beberesih: Use a soft, dry cloth to wipe the surface of the controller. For stubborn dirt, a slightly damp lawon bisa dipaké, dituturkeun ku lawon garing. Hindarkeun pembersih abrasive atanapi pangleyur.
- Panyimpenan: When not in use, store the X4 mini in a clean, dry environment away from direct sunlight and extreme temperatures.
- Angkutan: If transporting the unit, use a protective case to prevent damage to the keys and controls.
9. Cara ngungkulan
| Masalah | Mungkin Cukang lantaranana | Solusi |
|---|---|---|
| No sound from software instrument. |
|
|
| Computer does not recognize the X4 mini. |
|
|
| Keys are not responding or velocity is inconsistent. |
|
|
10. Spésifikasi
- konci: 49 velocity-sensitive mini keys
- Kadali: Pitch bend touch strip, Modulation touch strip, Octave Up/Down buttons, Transpose function, 4 assignable rotary knobs (T1-T4), Function buttons.
- Sambungan: USB (Type B), MIDI OUT (5-pin DIN), Sustain Pedal Input (1/4-inch jack)
- kakuatan: USB beus-Powered
- Kasaluyuan: Windows 7/10, macOS (Class-compliant, no drivers required)
- ukuran: 27.68 x 2.01 x 5.39 inci (70.3 x 5.1 x 13.7 cm)
- beurat: 5.45 Pon (2.47 kg)
- Asesoris kaasup: kabel USB
11. Garansi jeung Rojongan
Midiplus products are designed for reliability and performance. For warranty information and technical support, please refer to the official Midiplus websitus atanapi ngahubungan distributor lokal Anjeun. Simpen bukti pameseran anjeun pikeun klaim garansi.
For further assistance, you may visit the Midiplus Store on Amazon: Midiplus Store
12. Video Produk Resmi
Henteu aya pidéo produk resmi ti anu ngajual pikeun produk ieu dina data anu disayogikeun.


