1. Bubuka
Thank you for choosing the Prechen 19.5-inch 1600x900 LED Monitor. This monitor is designed to provide a high-quality visual experience for various applications, including office work, multimedia, and gaming. Featuring a 1600x900 resolution TN panel, 60Hz refresh rate, and built-in speakers, it offers a versatile display solution. This manual provides detailed instructions for setup, operation, maintenance, and troubleshooting to ensure optimal performance and longevity of your device.

Gambar 1: Hareupeun view of the Prechen 19.5-inch LED Monitor.
2. Émbaran Kasalametan penting
Please read all safety warnings and instructions carefully before using this monitor to prevent damage or injury.
- Do not expose the monitor to rain or moisture to avoid fire or electric shock.
- Ulah muka monitor casing. Henteu aya bagian anu tiasa dilayanan ku pangguna di jero. Rujuk sadayana jasa ka tanaga jasa anu mumpuni.
- Teundeun monitor dina tempat nu datar, stabil pikeun nyegah ragrag.
- Pastikeun ventilasi ditangtoskeun sabudeureun monitor. Ulah meungpeuk bukaan ventilasi.
- Paké ngan adaptor kakuatan disadiakeun kalawan monitor.
- Pegatkeun sambungan colokan listrik tina stop kontak upami monitor teu tiasa dianggo kanggo waktos anu panjang.
- Avoid placing the monitor near heat sources such as radiators, heat registers, stoves, or other products (including ampLiifiers) anu ngahasilkeun panas.
3. Eusi Paket
Mangga parios eusi pakét pikeun mastikeun yén sadaya barang aya sareng henteu ruksak:
- Prechen 19.5-inch LED Monitor
- Adaptor kakuatan
- Kabel HDMI
- Manual pamaké

Figure 2: Included accessories: Monitor, Power Adapter, HDMI Cable, and User Manual.
4. Setup Guide
4.1 Ngarakit Stand
- Taliti cabut monitor jeung nangtung komponén tina bungkusan.
- Attach the stand base to the stand neck, securing it with the provided screw (if applicable).
- Align the assembled stand with the mounting slot on the back of the monitor and gently push until it clicks into place or secure with screws as per the stand design.
4.2 Nyambungkeun Monitor
The monitor supports both HDMI and VGA connections.
- Sambungan Daya: Connect the power adapter to the monitor's DC IN port, then plug the adapter into a power outlet.
- Sambungan Video (HDMI): Connect one end of the HDMI cable to the HDMI port on your computer or device, and the other end to the HDMI port on the monitor.
- Video Connection (VGA): Connect one end of the VGA cable to the VGA port on your computer or device, and the other end to the VGA port on the monitor.
- Sambungan Audio: If using a VGA connection and external speakers, connect an audio cable from your computer's audio output to the monitor's audio input port. The built-in speakers will function automatically with HDMI.

Figure 3: Monitor back panel with input ports and control buttons.

Figure 4: Multiple connection options for the monitor.
5. Parentah Operasi
5.1 Powering on / Pareum
Pencét tombol daya anu aya di tukang monitor pikeun ngahurungkeun atanapi mareumanana. Lampu indikator daya bakal hurung nalika monitor hurung.
5.2 Ngagunakeun Menu OSD
The On-Screen Display (OSD) menu allows you to adjust various monitor settings. The control buttons are located on the back of the monitor (refer to Figure 3).
- MENU: Pencét pikeun muka menu OSD.
- UP/DOWN (Volume Up/Down): Use to navigate through menu options or adjust values.
- ENTER (Switch): Pencét pikeun mastikeun pilihan atanapi lebet kana sub-menu.
- EXIT (Return): Pencét pikeun kaluar tina menu ayeuna atanapi uih deui ka tingkat sateuacana.
5.3 Nyaluyukeun Setélan Témbongkeun
Navigate the OSD menu to adjust settings such as:
- Caang/Kontras: Saluyukeun luminance sareng kontras sakabéh tampilan.
- Setélan warna: Robah suhu warna, tingkat RGB, atanapi pilih modeu warna prasetél.
- Pilih Input: Manually switch between HDMI and VGA input sources.
- Rasio Aspék: Choose between 16:9 (widescreen) or 4:3 (standard) display modes.
- Seukeutna: Adjust the clarity of the image.
5.4 Setélan Audio
The monitor features two built-in speakers. You can adjust the volume using the OSD menu or the dedicated volume buttons on the back of the monitor.
6. Pangropéa sarta perawatan
Proper care and maintenance will extend the life of your monitor.
- Ngabersihan layar: Ngusap layar nganggo kaén anu lembut sareng teu aya serat. Pikeun tanda nekad, dampBilas heula lawon ku cai atawa pembersih layar anu henteu ngandung amonia jeung henteu ngandung alkohol. Ulah nyemprotkeun pembersih langsung kana layar.
- Ngabersihan Casing: Make kaen nu lemes tur garing pikeun ngusap monitor casing. Ulah make cleaners abrasive atawa pangleyur.
- Panyimpenan: Upami nyimpen monitor kanggo waktos anu lami, pegatkeun tina listrik teras simpen di tempat anu tiis sareng garing, langkung saé dina bungkus aslina.
7. Cara ngungkulan
If you encounter problems with your monitor, please refer to the following table for common issues and solutions.
| Masalah | Mungkin Cukang lantaranana | Solusi |
|---|---|---|
| Taya kakuatan | Kabel daya teu nyambung; Stop kontak rusak; Monitor pareum. | Ensure power cable is securely connected. Try a different power outlet. Press the power button on the monitor. |
| Taya sinyal | kabel video teu disambungkeun; Sumber input salah dipilih; Komputer henteu ngaluarkeun sinyal. | Check HDMI/VGA cable connection. Select the correct input source via the OSD menu. Ensure your computer is on and outputting video. |
| Taya sora ti spiker diwangun-di | Volume too low/muted; Incorrect audio output selected on PC; Audio cable not connected (for VGA). | Increase monitor volume. Check PC audio settings to ensure monitor is selected as output. For VGA, ensure audio cable is connected. |
| Gambar buram atanapi menyimpang | Résolusi salah; Masalah kabel. | Set your computer's display resolution to 1600x900. Try a different video cable. |
8. Spésifikasi produk
| Fitur | Spésifikasi |
|---|---|
| merek | Prechen |
| Ukuran layar | 19.5 inci |
| Tipe tampilan | LED |
| Resolusi tampilan maksimum | 1600 x 900 |
| Refresh Laju | 60 Hz |
| Waktu Tanggapan | 5 Milidetik |
| Rasio Aspék | 16:9 |
| Téhnologi konektipitas | HDMI, VGA |
| Fitur husus | Diwangun-di Speaker |
| VESA Gunung kasaluyuan | 100 x 100 mm |
9. Pemasangan VESA
The Prechen monitor supports VESA standard mounting (100 x 100 mm), allowing you to mount it on a wall or an articulating arm for flexible viewing options. This feature makes the monitor lightweight and easy to install in various setups.
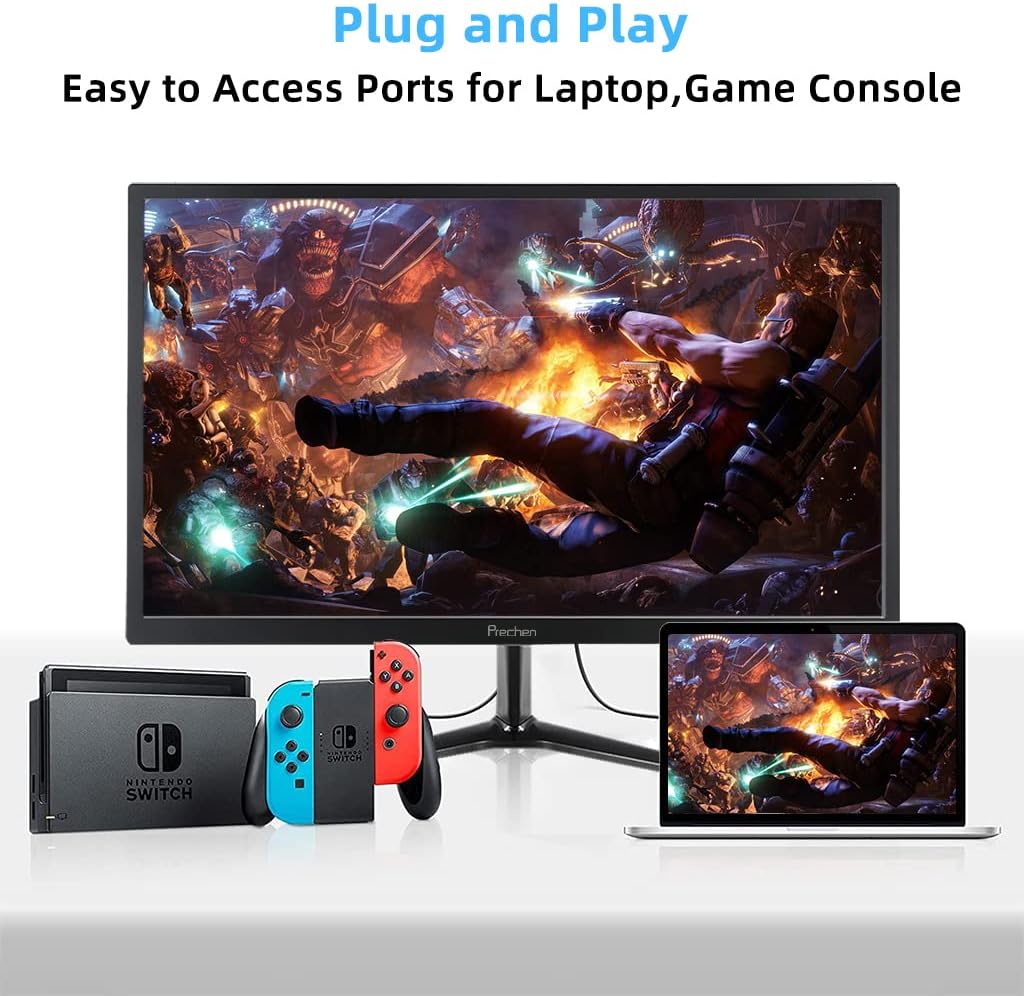
Figure 5: VESA mount dimensions on the monitor back.

Gambar 6: Kelample of VESA mounting with an articulating arm.
10. Garansi jeung Rojongan
Each Prechen product is covered by a one-year warranty from the date of purchase, which includes a one-month refund and exchange policy. This warranty covers manufacturing defects and issues arising from normal use.
For any questions, technical support, or warranty claims, please contact Prechen customer service. Please have your product model and purchase information ready when contacting support.
Contact information for customer service can typically be found on the product packaging or the official Prechen websitus.


