1. Bubuka
This manual provides essential information for the proper installation, operation, and maintenance of your Beetronics 12-Inch Full HD IPS Monitor, model 12HD7M. Please read this manual thoroughly before using the product to ensure optimal performance and safety.
Fitur konci:
- Full HD 1920 x 1080 resolution IPS panel with 178° viewdina sudut.
- Multiple video inputs: HDMI, VGA, BNC, and RCA.
- Durable metal housing designed for continuous 24/7 operation.
- Lebar input voltage range (9-36 Volts) and dimmable backlight.
- Flexible mounting options: Collapsible stand and 75mm VESA mount.
2. Eusi Paket
Verify that all items listed below are included in your product package. If any items are missing or damaged, please contact Beetronics support.
- Monitor IPS Full HD Beetronics 12 Inci (12HD7M)
- Power Supply & Kabel
- Kadali jauh
- Braket Pemasangan Rata
- Nangtung Collapsible
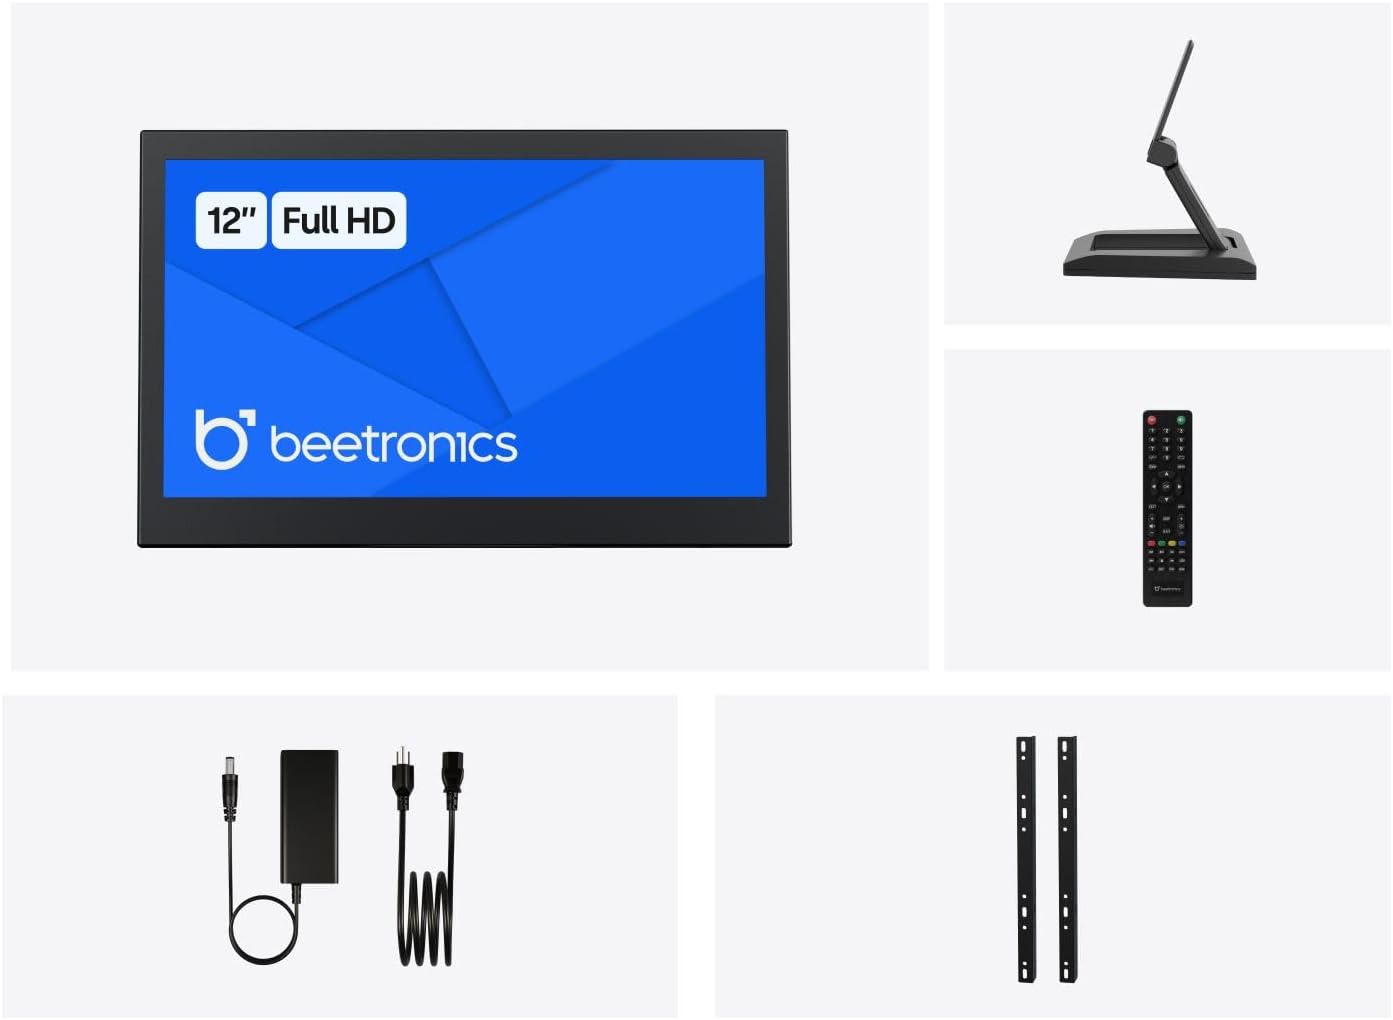
Gambar 2.1: Package Contents. This image displays the Beetronics 12HD7M monitor along with its standard accessories, including the power adapter, remote, mounting brackets, and desktop stand.
3. Produk Langkungview
Monitor Dimensions and Design:
The Beetronics 12HD7M monitor features a robust metal housing, designed for industrial environments. Its compact form factor allows for versatile integration.

Gambar 3.1: Monitor Dimensions. This image illustrates the physical dimensions of the 12HD7M monitor, including width (279 mm), height (179 mm), and stand height adjustment (50-64 mm).
Port Input/Kaluaran:
The monitor is equipped with a comprehensive set of rear-facing, downward-oriented input ports for easy cable management and installation.

Gambar 3.2: Rear I/O Ports. This image provides a clear view of the monitor's rear panel, detailing the DC power input, HDMI, VGA, USB, AV, BNC, and audio input/output ports. Control buttons for power, menu, and volume are also visible.
- Input Daya DC: Pikeun nyambungkeun adaptor kakuatan kaasup.
- HDMI: High-Definition Multimedia Interface pikeun video digital sarta audio.
- VGA: Video Graphics Array for analog video input.
- BNC: Bayonet Neill-Concelman connector, commonly used for professional video applications.
- RCA (AV): Composite video and stereo audio inputs.
- USB: For service or specific peripheral connections.
- Audio Asup/Kaluar: 3.5mm jacks for audio connectivity.
4. Setélan
4.1 Pilihan pamasangan
The 12HD7M monitor offers flexible mounting solutions to suit various environments.
Pamasangan Stand Desktop:
The included collapsible stand allows for desktop placement and angle adjustment. Ensure the stand is securely attached to the monitor and placed on a stable, flat surface.
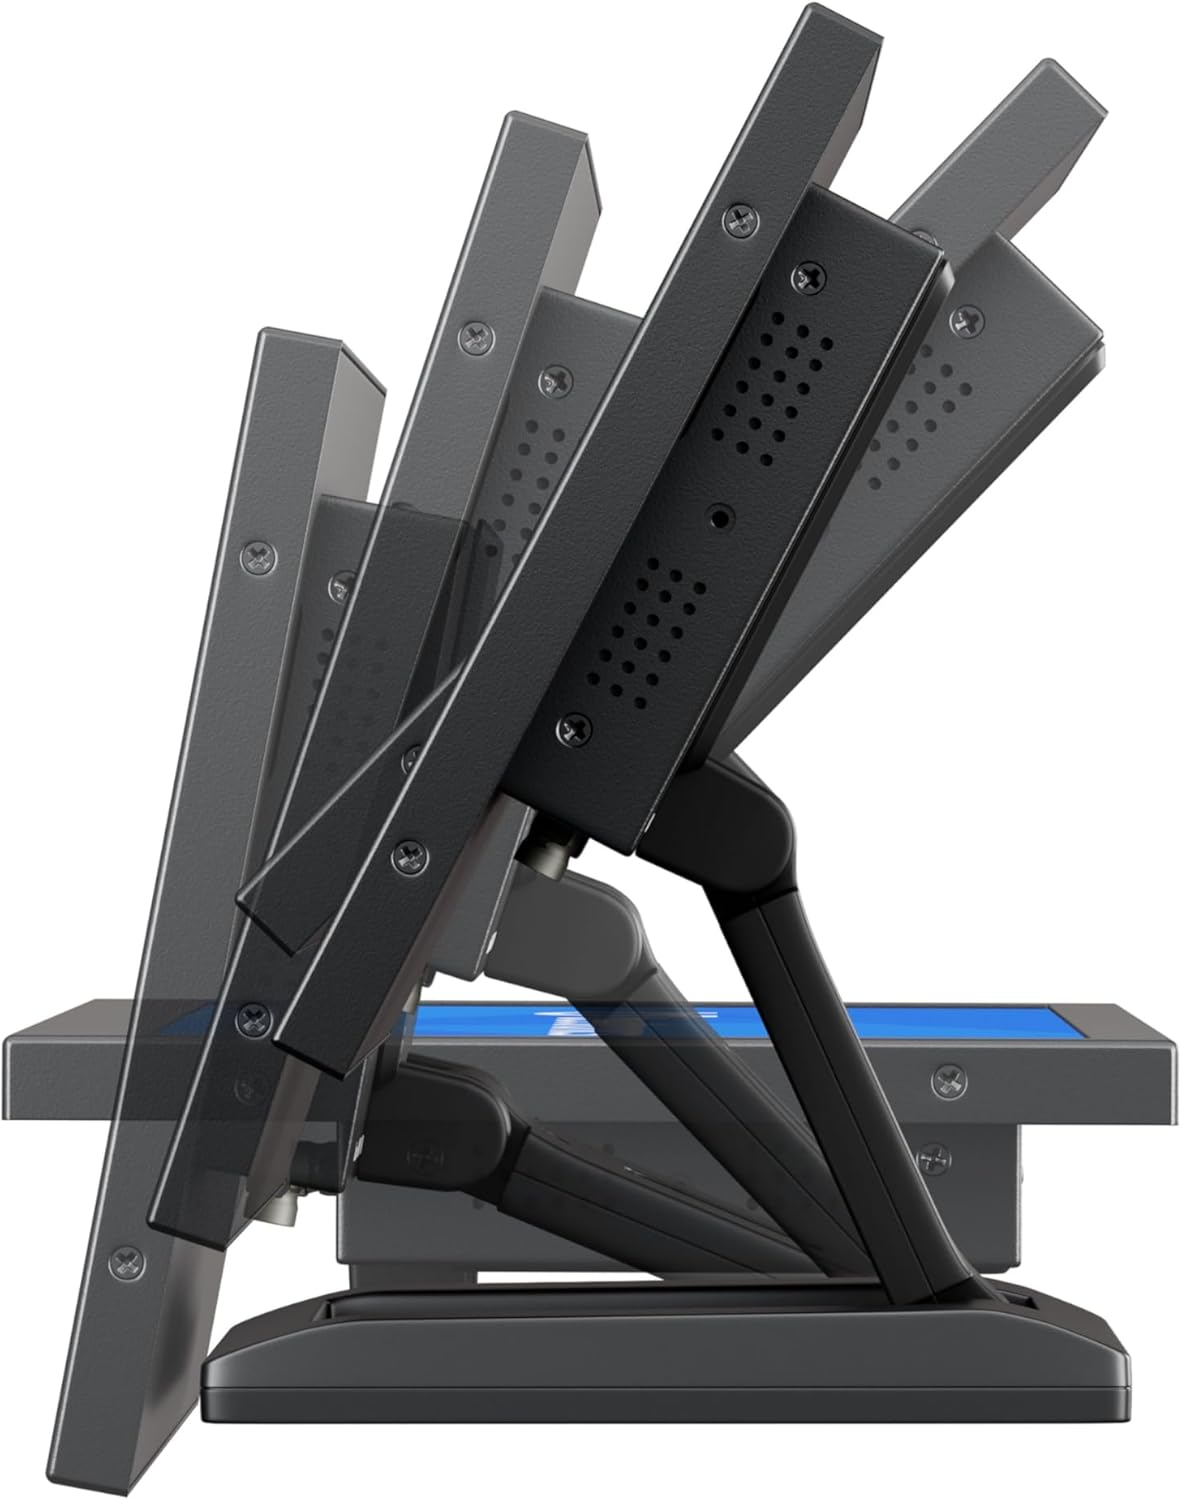
Gambar 4.1: Adjustable Stand. This image shows the monitor's side profile, highlighting the flexibility of the collapsible stand to adjust the screen's tilt angle for optimal viewing.
VESA Wall/Panel Mounting:
The monitor features a 75mm VESA mount pattern on the rear, allowing it to be mounted on compatible VESA arms, wall mounts, or integrated into panels using the flush mounting brackets. Ensure appropriate screws (M4) are used and tightened securely.

Gambar 4.2: VESA Mount Points. This image displays the back of the monitor, indicating the standard VESA mounting points for secure attachment to compatible brackets or arms.
4.2 Nyambungkeun Daya
- Connect the power adapter cable to the DC input port on the rear of the monitor.
- Plug the power adapter into a suitable electrical outlet. The monitor supports a wide input voltage rentang 9-36V DC.
4.3 Nyambungkeun Sumber Video
Connect your video source (e.g., computer, camera, media player) to the desired input port on the monitor using appropriate cables.
- HDMI: For high-quality digital video and audio.
- VGA: For analog video connections.
- BNC: For professional video equipment.
- RCA (AV): For composite video and analog audio.
5. Parentah Operasi
5.1 Daya Hurung/Pareuman
Press the 'ON/OFF' button located on the rear panel or on the remote control to power the monitor on or off.
5.2 Menu Navigation (OSD)
The On-Screen Display (OSD) menu allows you to adjust various monitor settings. Use the 'MENU' button to access the OSD, and the '+', '-', 'AUTO' buttons to navigate and adjust settings. The remote control can also be used for easier navigation.
5.3 Pamilihan Input
To switch between different video input sources, press the 'AUTO' button on the rear panel or the 'Input' button on the remote control. Cycle through HDMI, VGA, BNC, and AV inputs until the desired source is displayed.
5.4 Setélan Gambar
Aksés menu OSD pikeun nyaluyukeun setélan kualitas gambar:
- Caang: Saluyukeun luminance sakabéh layar.
- Kontras: Ngadalikeun bédana antara wewengkon caang jeung poék.
- Suhu warna: Selects preset color modes (e.g., Warm, Cool, User).
- Rasio Aspék: Adjusts the display ratio (e.g., 16:9, 4:3).
- Seukeutna: Enhances edge definition.
5.5 Setélan Audio
If an audio source is connected, adjust the volume using the '+' and '-' buttons on the rear panel or remote control. Further audio settings may be available in the OSD menu.
6. Pangropéa
6.1 Ngabersihan Monitor
- Salawasna pareum sareng cabut monitor sateuacan beberesih.
- Make kaen nu lemes, teu aya lint rada dampDieusian ku cai atanapi pembersih layar anu hampang sareng henteu abrasive.
- Ulah menyemprot cairan langsung kana layar atawa kana sagala bukaan.
- Ulah make bahan kimia kasar, pangleyur, atawa bahan abrasive.
6.2 Perawatan Umum
- Hindarkeun nempatkeun barang beurat dina monitor.
- Ulah ngantepkeun monitor ka suhu anu ekstrim, kalembaban, atanapi sinar panonpoé langsung.
- Pastikeun ventilasi nyukupan sabudeureun monitor pikeun nyegah overheating.
7. Cara ngungkulan
Upami anjeun ngalaman masalah sareng monitor anjeun, tingali masalah sareng solusi umum ieu.
| Masalah | Mungkin Cukang lantaranana | Solusi |
|---|---|---|
| Taya Daya | Power cable not connected; Power adapter faulty; Power outlet not working. | Check power cable connections; Test power adapter with another device; Try a different power outlet. |
| Taya Sinyal | Video cable not connected; Incorrect input source selected; Video source not active. | Ensure video cable is securely connected; Select the correct input source using the 'Input' button; Verify video source is powered on and outputting a signal. |
| Gambar distort atanapi buram | Incorrect resolution; Loose video cable; Monitor settings. | Set the video source to the monitor's native resolution (1920x1080); Reconnect video cable; Adjust 'Sharpness' or 'Auto' settings in the OSD. |
| Henteu aya Audio | Audio cable not connected (for VGA/BNC/RCA); Volume too low; Audio source not active. | Ensure audio cable is connected (if not using HDMI); Increase monitor volume; Check audio output from the source device. |
8. Spésifikasi
Detailed technical specifications for the Beetronics 12HD7M monitor.
| Fitur | Spésifikasi |
|---|---|
| Nomer modél | 12HD7M |
| Ukuran layar | 11.6 inci (diagonal) |
| Resolusi | 1920 x 1080 (HD lengkep) |
| Tipe Panel | IPS |
| Rasio Aspék | 16:9 |
| Viewdina Angle | 178° (Horizontal/Vértikal) |
| Caang Gambar | 500 Candela |
| Beungeut layar | Matte |
| Input Video | HDMI, VGA, BNC, RCA (AV) |
| Input audio / Kaluaran | 3.5mm Audio In, 3.5mm Audio Out |
| Input kakuatan | 9-36 Volt (DC) |
| Dimensi produk | 1.4 x 11 x 9.6 inci (35.6 x 279.4 x 243.8 mm) |
| Item Beurat | 3.7 pon (1.68 kg) |
| Pamasangan | 75mm VESA, Collapsible Stand |
9. Garansi jeung Rojongan
9.1 Émbaran jaminan
The Beetronics 12HD7M monitor comes with a solid garansi 2 taun, reflecting our commitment to quality and reliability. This warranty covers defects in materials and workmanship under normal use. Please retain your proof of purchase for warranty claims.
9.2 Rojongan Téknis
For technical assistance, troubleshooting beyond this manual, or warranty inquiries, please contact Beetronics customer support. Refer to the official Beetronics websitus pikeun inpormasi kontak sareng sumber pangrojong pang anyarna.
Websitus: www.beetronics.com


