Panutup Manual

Gambar: Sampul hareup Buku Panduan Mesin Jahit Singer 2282.
Parentah Kasalametan penting
When using an electric appliance, basic safety precautions should always be followed, including the following:
DANGER - To reduce the risk of electric shock:
- Always unplug the machine immediately after using and before cleaning.
- Always unplug before replacing a light bulb. Replace bulb with same type rated 10 watts (110-120V area) or 15 watts (220-240V area).
WARNING - To reduce the risk of burns, fire, electric shock, or injury to persons:
- Ulah ngantep dipaké salaku cocooan. Perhatian caket diperyogikeun nalika alat ieu dianggo ku atanapi caket barudak.
- Anggo alat ieu ngan ukur pikeun panggunaan anu dimaksud sakumaha anu dijelaskeun dina manual ieu. Paké ngan kantétan dianjurkeun ku produsén sakumaha anu aya dina manual ieu.
- Tong pernah ngoperasikeun alat ieu upami aya kabel atanapi colokan anu ruksak, upami teu jalan leres, upami parantos turun atanapi rusak, atanapi murag kana cai. Balik alat ka dealer otorisasi pangcaketna atawa puseur layanan pikeun ujian, perbaikan, adjustment listrik atawa mékanis.
- Never operate the appliance with any air openings blocked. Keep ventilation openings of the sewing machine and foot controller free from the accumulation of lint, dust, and loose cloth.
- Jauhkeun ramo tina sadaya bagian anu obah. Perhatosan khusus diperyogikeun di jarum mesin jahit.
- Salawasna nganggo piring jarum ditangtoskeun. Piring anu salah tiasa nyababkeun jarum rusak.
- Ulah narik atawa nyorong lawon bari stitching. Ieu bisa deflect jarum ngabalukarkeun éta megatkeun.
- Always unplug the sewing machine from the electrical outlet when removing covers, lubricating, or when making any other servicing adjustments mentioned in the instruction manual.
- Ulah leupaskeun atanapi nyelapkeun obyék naon waé kana bukaan naon waé.
- Ulah make di luar.
- Ulah beroperasi dimana produk aerosol (semprot) dipaké atawa dimana oksigén keur dikaluarkeun.
- Pikeun megatkeun sambungan, puter sadaya kontrol ka posisi pareum ("O"), teras cabut colokan tina stop kontak.
- Ulah cabut colokan ku cara narik kana kabel. Pikeun cabut colokan, keupeul colokan, teu ari.
- Tingkat tekanan sora dina kaayaan operasi normal nyaéta 75dB(A).
- Never turn off the machine or unplug when the machine is not running properly.
- Pernah nempatkeun nanaon dina controller suku.
- If the supply cord that is fixed with foot controller is damaged, it must be replaced by the manufacturer or its service agent or a similarly qualified person in order to avoid a hazard.
- Alat ieu henteu dimaksudkeun pikeun dianggo ku jalma (kalebet murangkalih) anu ngirangan kamampuan fisik, indrawi atanapi mental, atanapi kirang pangalaman sareng pangaweruh, kecuali aranjeunna dipasihan pangawasan atanapi petunjuk ngeunaan panggunaan alat ku jalma anu tanggung jawab kana kasalametanana.
- Barudak kedah diawaskeun pikeun mastikeun yén aranjeunna henteu maén sareng alatna.
SIMPAN PITUDUH IEU
mesin jahit ieu dimaksudkeun pikeun pamakéan rumah tangga wungkul.
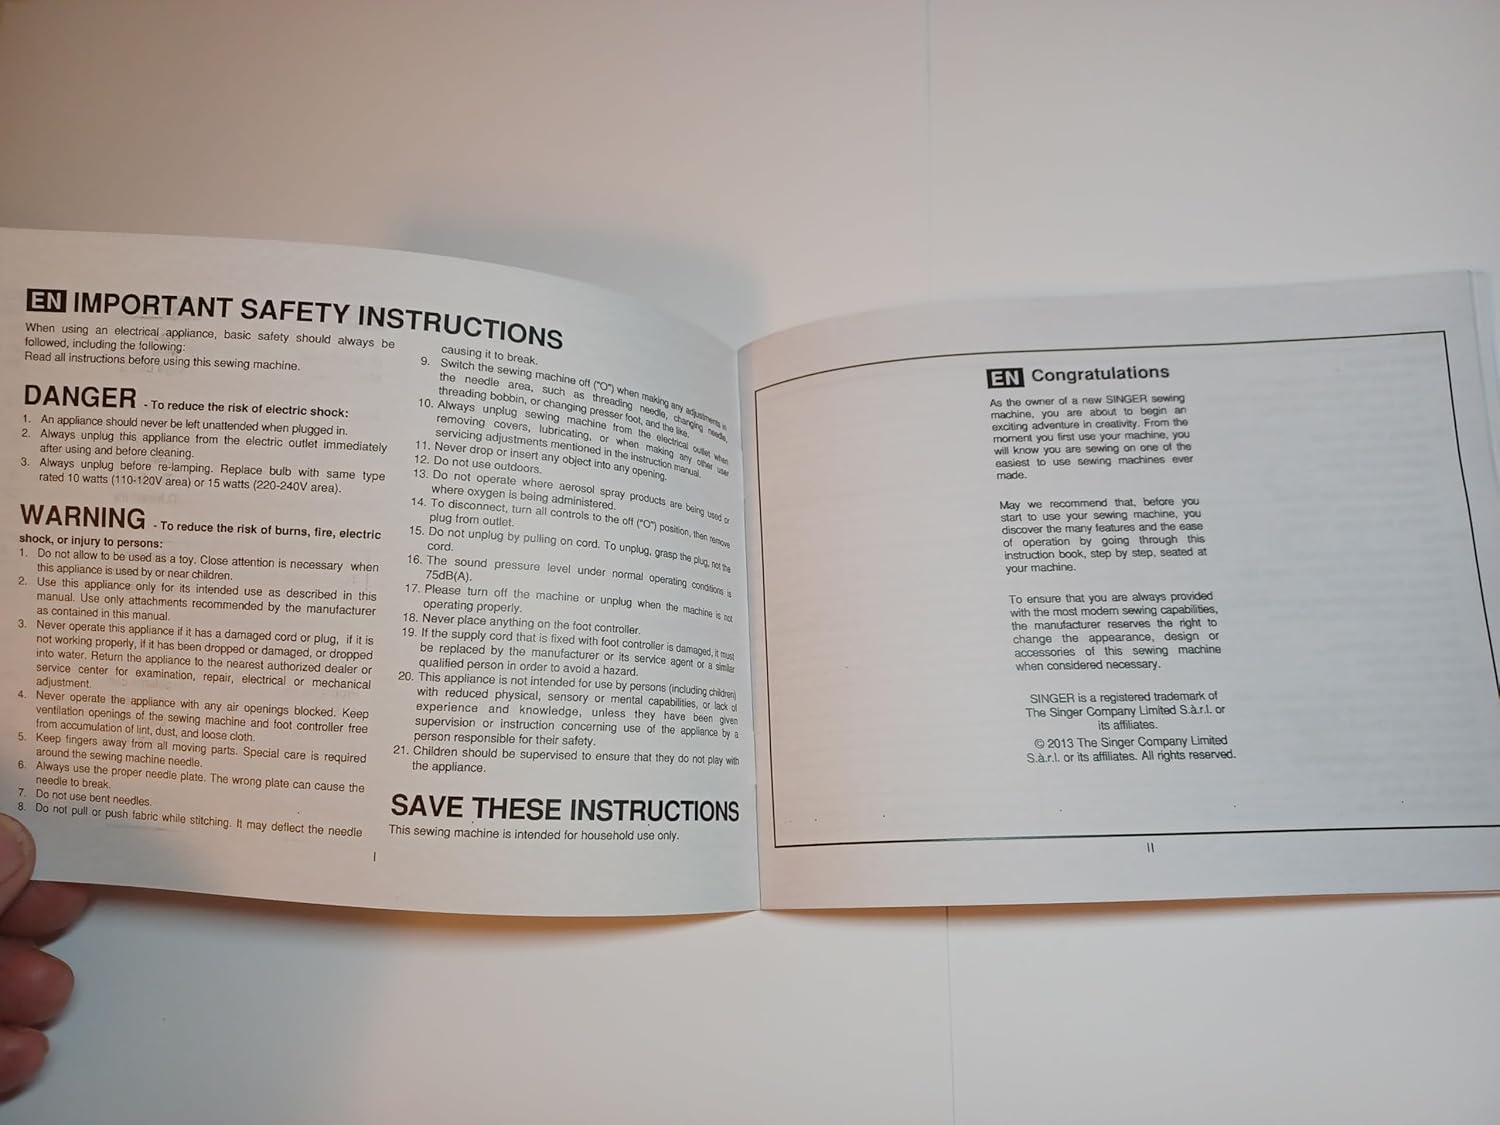
Image: Important Safety Instructions and Congratulations page from the manual.
Ngamimitian
Wilujeng!
As the owner of a new SINGER sewing machine, you are about to begin an exciting adventure in creative sewing. The first step to learn your machine, you will know you are sewing by doing. So, prepare to sew! Sewing machines are made for sewing.
May we recommend that, before you use your new sewing machine, you discover the many features and the ease of operation by reading through this instruction book, step by step, seated at your machine.
To ensure that you are always provided with the finest sewing capabilities, the manufacturer reserves the right to change the appearance, design, or accessories of this sewing machine when considered necessary.
SINGER is a registered trademark of The Singer Company Limited S.à.r.l. or its affiliates. © 2013 The Singer Company Limited S.à.r.l. or its affiliates. All rights reserved.
Disetél
Before beginning any sewing project, ensure your Singer 2282 machine is properly set up. This involves connecting the power, installing the needle, and preparing the bobbin.
Sambungan Daya
- Pastikeun mesin dipareuman.
- Insert the power cord into the machine's power input.
- Colokkeun tungtung kabel listrik anu sanés ka stop kontak listrik anu cocog.
- Sambungkeun controller suku ka port na ditunjuk dina mesin.
Pamasangan Jarum
- Angkat jarum ka posisi pangluhurna ngagunakeun roda leungeun.
- Ngaleupaskeun jarum clamp sekrup.
- Insert the new needle with the flat side facing the back of the machine.
- Push the needle up as far as it will go, then tighten the needle clamp screw aman.
Bobbin Winding
- Pasang spool benang dina pin spool.
- Pituduh thread ngaliwatan pituduh thread luhur jeung sabudeureun disc tegangan pungkal bobbin.
- Teundeun bobbin kosong kana spindle winder bobbin.
- Hurungkeun benang sababaraha kali sacara manual sabudeureun bobbin nu.
- Nyorong spindle winder bobbin ka katuhu.
- Pencét suku controller pikeun ngamimitian pungkal. Eureun nalika bobbin pinuh.
- Cut the thread and push the bobbin winder spindle to the left.
Ngoperasikeun Mesin Jahit Anjeun
Threading Mesin
Proper threading is crucial for correct stitch formation. Follow these steps carefully for both upper and lower threading.
Threading Thread Luhur
- Start by raising the needle to its highest point (1), and continue turning the handwheel counter-clockwise until the needle just begins to descend. Raise the presser foot to release the tension discs.
- Catetan: Pikeun kasalametan, disarankeun pisan pikeun mareuman kakuatan sateuacan threading.
- Tempatkeun gulungan benang dina pin gulungan.
- Draw thread from the spool through the upper thread guide (3) and proceed through pre-tension spring as illustrated (4).
- Thread tension module by leading thread down right channel and up left channel (5). During this process it is helpful to hold the thread between the spool and thread guide.
- At the top of this movement pass thread from right to left, through the slotted eye of the take-up lever and then downwards again.
- Ayeuna lulus benang di tukangeun jarum kawat ipisamp guide (7) and then down to the needle which should be threaded from the front to back.
- Pull about 6-8 inches of thread to the rear beyond the needle eye. Trim thread to length with built-in thread cutter (8).
Pangaluyuan Tegangan Benang
Correct thread tension is essential for balanced stitches. Adjust the tension dial as needed.
- Upper Thread Tension: To reduce the tension, turn the dial to the next number up. To increase the tension, turn the dial to the next number down. Try to achieve balanced tension for straight stitch sewing. Turn dial to "4".
- Lower Thread Tension: To test the bobbin thread tension, remove the bobbin case and bobbin. Hold the thread coming from the bobbin. If the tension is correct, the thread will unwind slowly. If it unwinds too fast, it will drop too much. If it unwinds too slowly, it will not drop.
Punten Catet:
- Proper setting of tension is important for good sewing.
- The correct tension for example, top, bottom, and all stitch functions, thread or fabric.
- The tension is correct when both upper and bottom is usually only desirable for straight stitch construction.
- 90% of all sewing will be between "3" and "5".
- For zig zag and decorative sewing stitch functions, thread tension will be less than for straight stitch sewing.
- For decorative sewing you will always obtain a nice stitch and foot fabric puckering when the upper thread appears on the bottom side of your fabric.

Image: Instructions for Thread Tension and Threading the Upper Thread.
Stitch Pamilihan jeung adjustment
The Singer 2282 offers various stitch patterns and adjustments for different sewing needs.
Kumaha Pilih Pola Anjeun
To select a stitch pattern, simply turn the Pattern Selector Dial. The Pattern Selector Dial may be turned in either direction.
- For straight stitch: select pattern "1" with the pattern selector dial. Adjust the stitch length with the stitch length dial.
- For zigzag stitch: select pattern "2" with the pattern selector dial. Adjust the stitch length and stitch width according to the fabric being used.
- To obtain the other patterns: turn the stitch length dial to "0" or "Sz", select the pattern desired with pattern selector dial, and adjust the stitch width with the stitch width dial.
Stitch Width & Stitch Length Dial
- Function of stitch width dial: The maximum zigzag stitch width for zigzag stitching is 5mm. However, the width can be reduced by turning the dial. The width increases as the dial is turned from "0" - "5" (1). The Stitch Width Dial is also the control for the straight stitch while needle position. "0" position is for left, "5" for full right and between "2" and "3" is for center needle position.
- Function of stitch length dial while zig-zag stitching (2/A): Set the Pattern Selector Dial to zig-zag. The density of zig-zag stitches increase as the setting of stitch length dial approaches "0". Next zig-zag stitches are usually achieved at "2.5" or below. Dense zig-zag stitches are called satin stitches.
- Function of stitch length dial for when straight stitching (2/B): For straight stitch sewing, turn the Pattern Selector Dial to the straight stitch setting. Turn the Stitch Length Dial, and the length of the individual stitches will decrease as the dial is approached "0". The length of the individual stitches will increase as the dial approaches "4". Generally speaking, use a longer stitch when sewing heavy-weight fabrics or when using a thicker needle or thread. Use a shorter stitch length when sewing lighter weight fabrics or when using a finer needle or thread.

Image: Instructions for Pattern Selection and Stitch Width/Length Dial.
Operasi husus
Making a Buttonhole (1-Step Buttonhole)
The 1-step buttonhole feature provides reliable and consistent buttonholes. It is strongly suggested to practice on a scrap piece of fabric before sewing buttonholes on your garment.
- Mark the position of the buttonhole on the fabric.
- Attach the buttonhole foot and set the Pattern Selector Dial to the buttonhole symbol.
- Set stitch length dial to "0" and the stitch width at "7". The stitch length may need to be adjusted according to the fabric being used.
- Lower the presser foot aligning the marks on foot with the marks on the fabric.
- Align the mark on the fabric (A) with the mark on the foot (B).
- Lower the buttonhole lever (C) completely.
- Turunkeun tuas buttonhole tur gently nyorong deui (C).
- Start sewing. The machine will automatically sew the buttonhole.
- Buttonhole stitching is done in the order (D). The machine will stop automatically when the buttonhole has completed.
Making Buttonholes on Stretch Fabric:
When sewing buttonholes on stretch fabric, hook heavy thread or cord onto the buttonhole foot. This will prevent the buttonhole edges and overcoat the cord.
- Place the heavy thread or cord on the fabric with the tailor's chalk, adjust the buttonhole foot, and set the pattern selector dial to the buttonhole symbol.
- Hook the heavy thread onto the back end of the buttonhole foot.
- Pull the heavy thread to the front of the buttonhole foot, insert them into the grooves and temporarily tie them down.
- Turunkeun suku presser tur mimitian jahit.
- When the buttonhole is completed, cut the heavy thread.
- When sewing is completed, gently pull the heavy thread to the front and back, then trim off the excess.
Ngaput dina Tombol
To sew a two-securing stitches, set the machine for straight stitch, with a stitch width set "0".
- Mark the needle out of the fabric. Set the machine for zig zag stitch, then set the stitch number "3" - "5". Turn the handwheel so that the needle goes cleanly into the left and right holes of the button. Adjust the stitch width for needed, and the proper distance between the holes of the button. Slowly sew on the button with about 10 stitches.
- Raise the needle out of the fabric. Set the machine for straight stitch again with the width set "0". Sew a few securing stitches to finish.
- If a shank is required, place a darning needle on top of the fabric and sew. For buttons with 4 holes, sew through the front two holes first, push the work forward and then sew through the back two holes.

Image: Instructions for 1-Step Buttonhole and Sewing on Buttons.
Pangropéa
Regular maintenance ensures the longevity and optimal performance of your Singer 2282 sewing machine.
Meresihan Mesin Anjeun
- Salawasna cabut colokan mesin saméméh beberesih.
- Leupaskeun piring jarum jeung kotak bobbin.
- Anggo sikat leutik pikeun ngaleungitkeun lint sareng lebu tina pakan anjing sareng daérah bobbin.
- Wipe the exterior of the machine with a soft, dry cloth. Do not use harsh chemicals.
Lubrication
Your Singer 2282 sewing machine is designed to require minimal lubrication. Refer to the original manual for specific oiling points if necessary. Over-oiling can attract lint and cause issues.
Ngaganti Jarum
Replace your needle regularly, especially after 8-10 hours of sewing or if it becomes bent or dull. A dull needle can cause skipped stitches and fabric damage.
Pamérésan masalah
This section provides solutions to common issues you might encounter with your Singer 2282 sewing machine.
| Masalah | Mungkin Cukang lantaranana | Solusi |
|---|---|---|
| Jahitan dilewatan | Incorrect needle installation, dull/bent needle, improper threading, wrong needle size for fabric. | Re-install needle correctly, replace needle, re-thread machine, use appropriate needle for fabric. |
| Thread megatkeun | Improper threading, incorrect tension, poor quality thread, bent needle, burr on needle plate. | Pasang deui benang dina mesin, saluyukeun teganganna, anggo benang anu kualitasna saé, pasang deui jarumna, pariksa aya gerinda. |
| Kain Puckering | Incorrect tension, wrong stitch length, dull needle, fabric not properly supported. | Adjust tension, select appropriate stitch length, replace needle, use a stabilizer if needed. |
| Mesin Teu tuang lawon | Feed dogs lowered, lint accumulation, presser foot not lowered. | Raise feed dogs, clean lint from feed dog area, lower presser foot. |
spésifikasi
The Singer 2282 sewing machine is designed for household use, offering a range of features for various sewing projects.
- model: Panyanyi 2282
- Tipe: Mesin Jahit Rumah Tangga
- Pola Jahitan: Multiple built-in stitch patterns (e.g., straight, zigzag, buttonhole)
- Liang kancing: 1-Lengkah Buttonhole
- kakuatan: Standard household electrical supply (refer to machine label for specific voltage / wattage)
- Asesoris: Standard presser feet, bobbins, needles, etc. (specific accessories may vary)
Garansi sareng Rojongan
For warranty information and customer support regarding your Singer 2282 sewing machine, please refer to the official Singer websitus atawa kartu jaminan kaasup kalayan pameseran Anjeun.
- Cakupan Garansi: Details regarding the length and scope of the warranty are typically provided with the original product packaging.
- Bantosan Téknis: For technical assistance, troubleshooting beyond this manual, or service inquiries, contact Singer customer service.
- Bagian sareng Asesoris: Genuine Singer parts and accessories can be purchased through authorized dealers or the official Singer online store.
Always ensure you have your machine's model number (2282) and serial number ready when contacting support.


