1. Bubuka
This manual provides detailed instructions for the setup, operation, and maintenance of your TONOR Audio Interface and Microphone Set. This all-in-one equipment kit is designed to enhance your audio experience for content creation, gaming, and streaming, offering features such as an XLR dynamic microphone, a USB audio mixer, and customizable RGB lighting.
2. Naon dina Box
Bungkus kotakna kalawan ati-ati sareng pastikeun sadaya komponén ieu aya:
- Adun Audio
- XLR Dinamis Mikropon
- Metal Base for Microphone
- XLR Cable for Microphone
- Live Audio Cable (3.5mm to 3.5mm)
- USB ka Tipe-C Cable
- Stand Mikropon
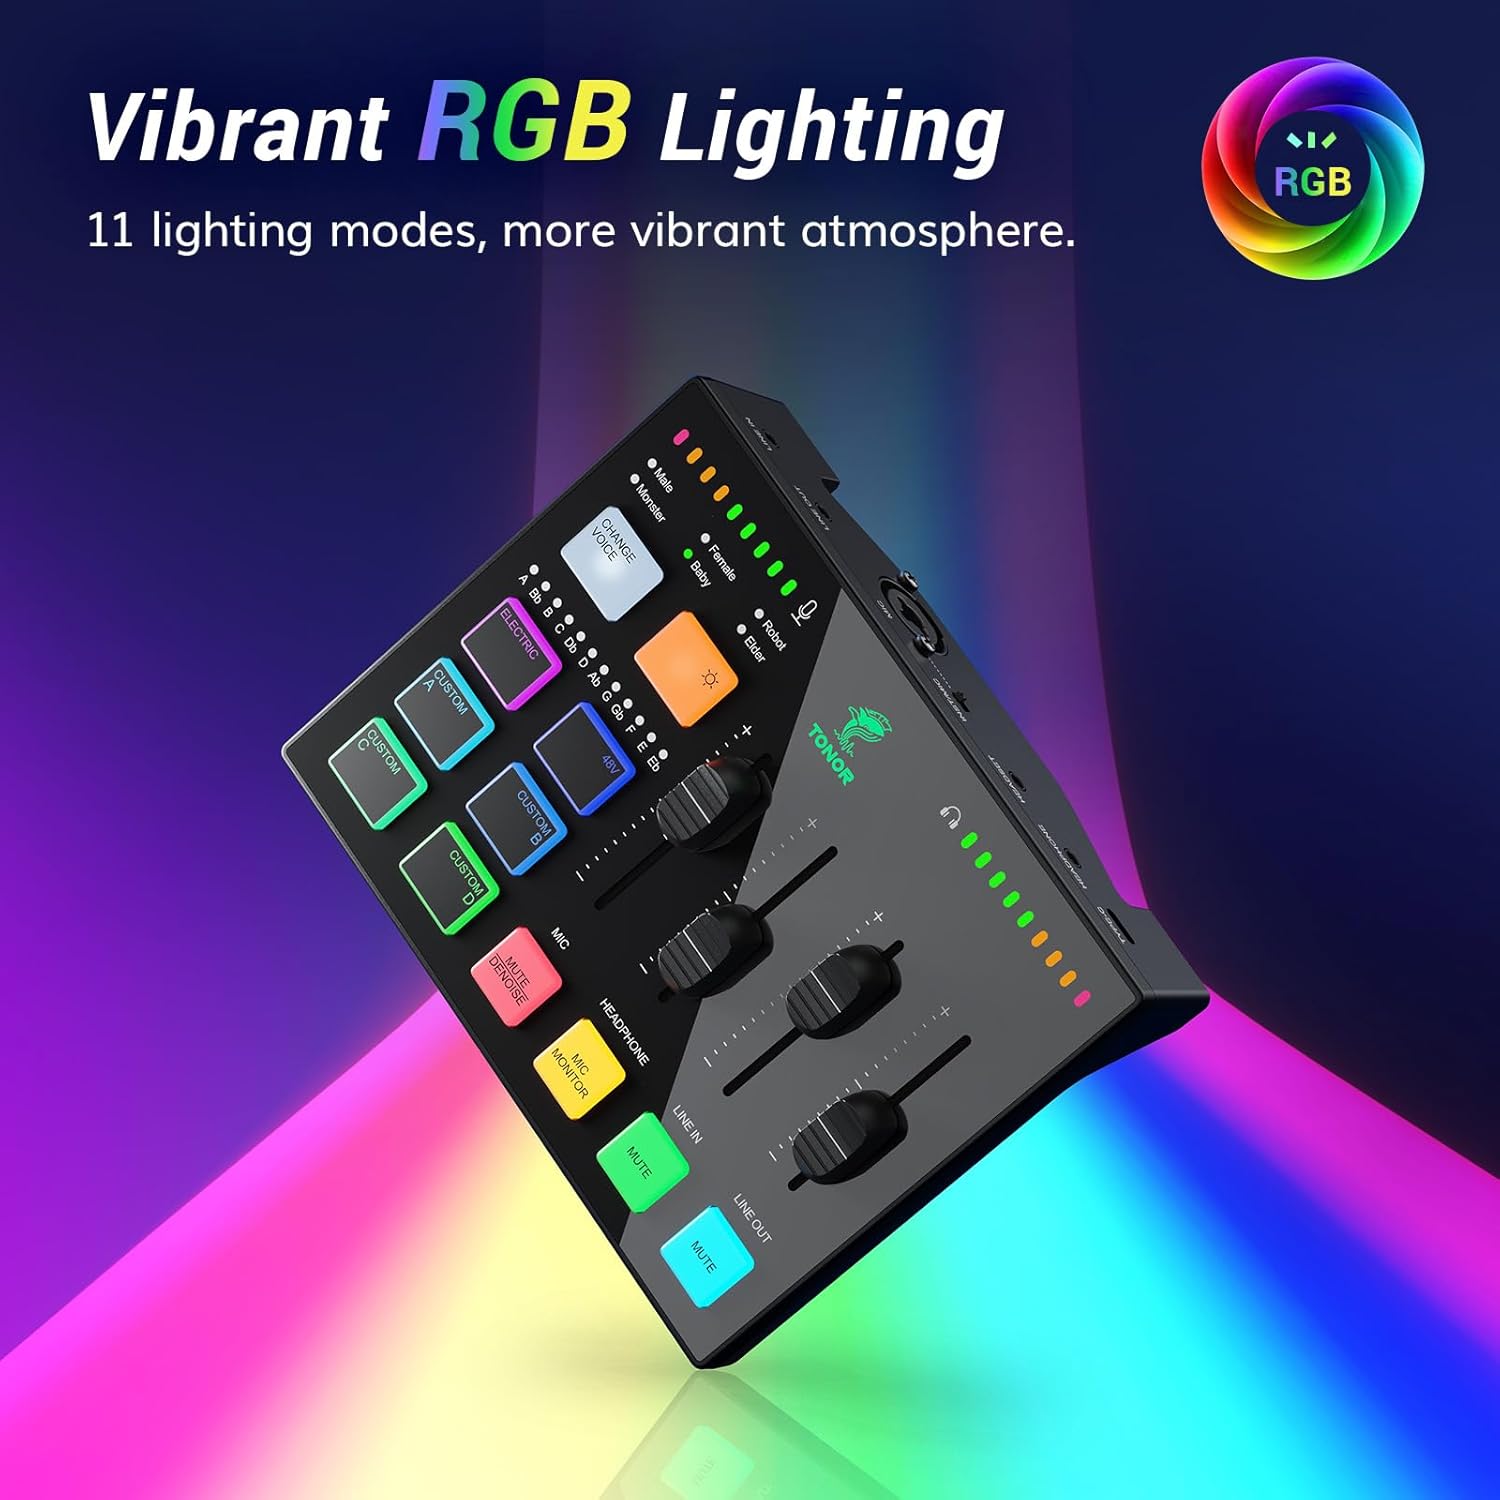
Image: All components included in the TONOR Audio Interface and Microphone Set package.
3. Parentah Setup
Follow these steps to set up your TONOR Audio Interface and Microphone Set:
- Sambungkeun Mikropon: Attach the XLR dynamic microphone to the microphone stand. Use the provided XLR cable to connect the microphone to the XLR input port on the audio mixer.
- Nyambung ka Komputer: Use the USB-C to USB-A cable to connect the audio mixer's Type-C interface to your computer's USB port. The device is plug-and-play compatible with Mac OS, Windows, PS4, and PS5.
- Sambungkeun Alat Audio:
- For headphones, connect them to the HEADPHONE or HEADSET output on the mixer.
- For external audio input (e.g., from a phone or tablet), use the 3.5mm to 3.5mm audio cable to connect to the LINE IN port.
- For external speakers or other output devices, connect them to the LINE OUT port.
- Daya Hurung: Once all connections are secure, the mixer will power on automatically when connected to your computer.

Image: XLR Input Connection on the audio mixer.

Image: Connectivity options and wide compatibility of the audio mixer.
4. Parentah Operasi
4.1 Individual Channel Control
The audio mixer features smooth volume slider faders and mute buttons for precise control over various audio channels:
- Mikropon (MIC): Saluyukeun volume input mikropon.
- Headphone: Control the monitoring volume for your headphones.
- Baris Dina: Adjust the volume for external audio sources connected via LINE IN.
- Jalur Kaluar: Control the overall output volume to external speakers or recording devices.
- Tombol Jempé: Each channel has a dedicated mute button for quick sound management.

Image: Individual channel controls with faders and mute buttons.
4.2 Pangaruh cahaya RGB
Customize the aesthetic of your setup with 11 different RGB lighting modes. Use the dedicated RGB control button on the mixer to cycle through the available lighting effects.

Image: Audio mixer displaying vibrant RGB lighting effects.
4.3 Versatile Sound Effects
The sound card supports various sound effects and voice transformation modes:
- Tombol Kustom (A, B, C, D): Four pre-recorded custom buttons allow you to trigger specific sound effects or audio clips.
- Voice Transformation Modes: Six voice transformation modes are available (e.g., Male, Female, Robot, Baby, Elder, Monster). Use the 'CHANGE VOICE' button to cycle through these.
- Tombol ELEKTRIK: Offers 12 automatic tuning variations for vocal effects.

Image: Multiple effects buttons for voice and sound customization.
4.4 Audio Quality and Noise Reduction
The included XLR dynamic microphone features a dynamic unit with noise reduction technology, designed to deliver clear and authentic voice reproduction with a high signal-to-noise ratio (S/N Ratio: 95dB).
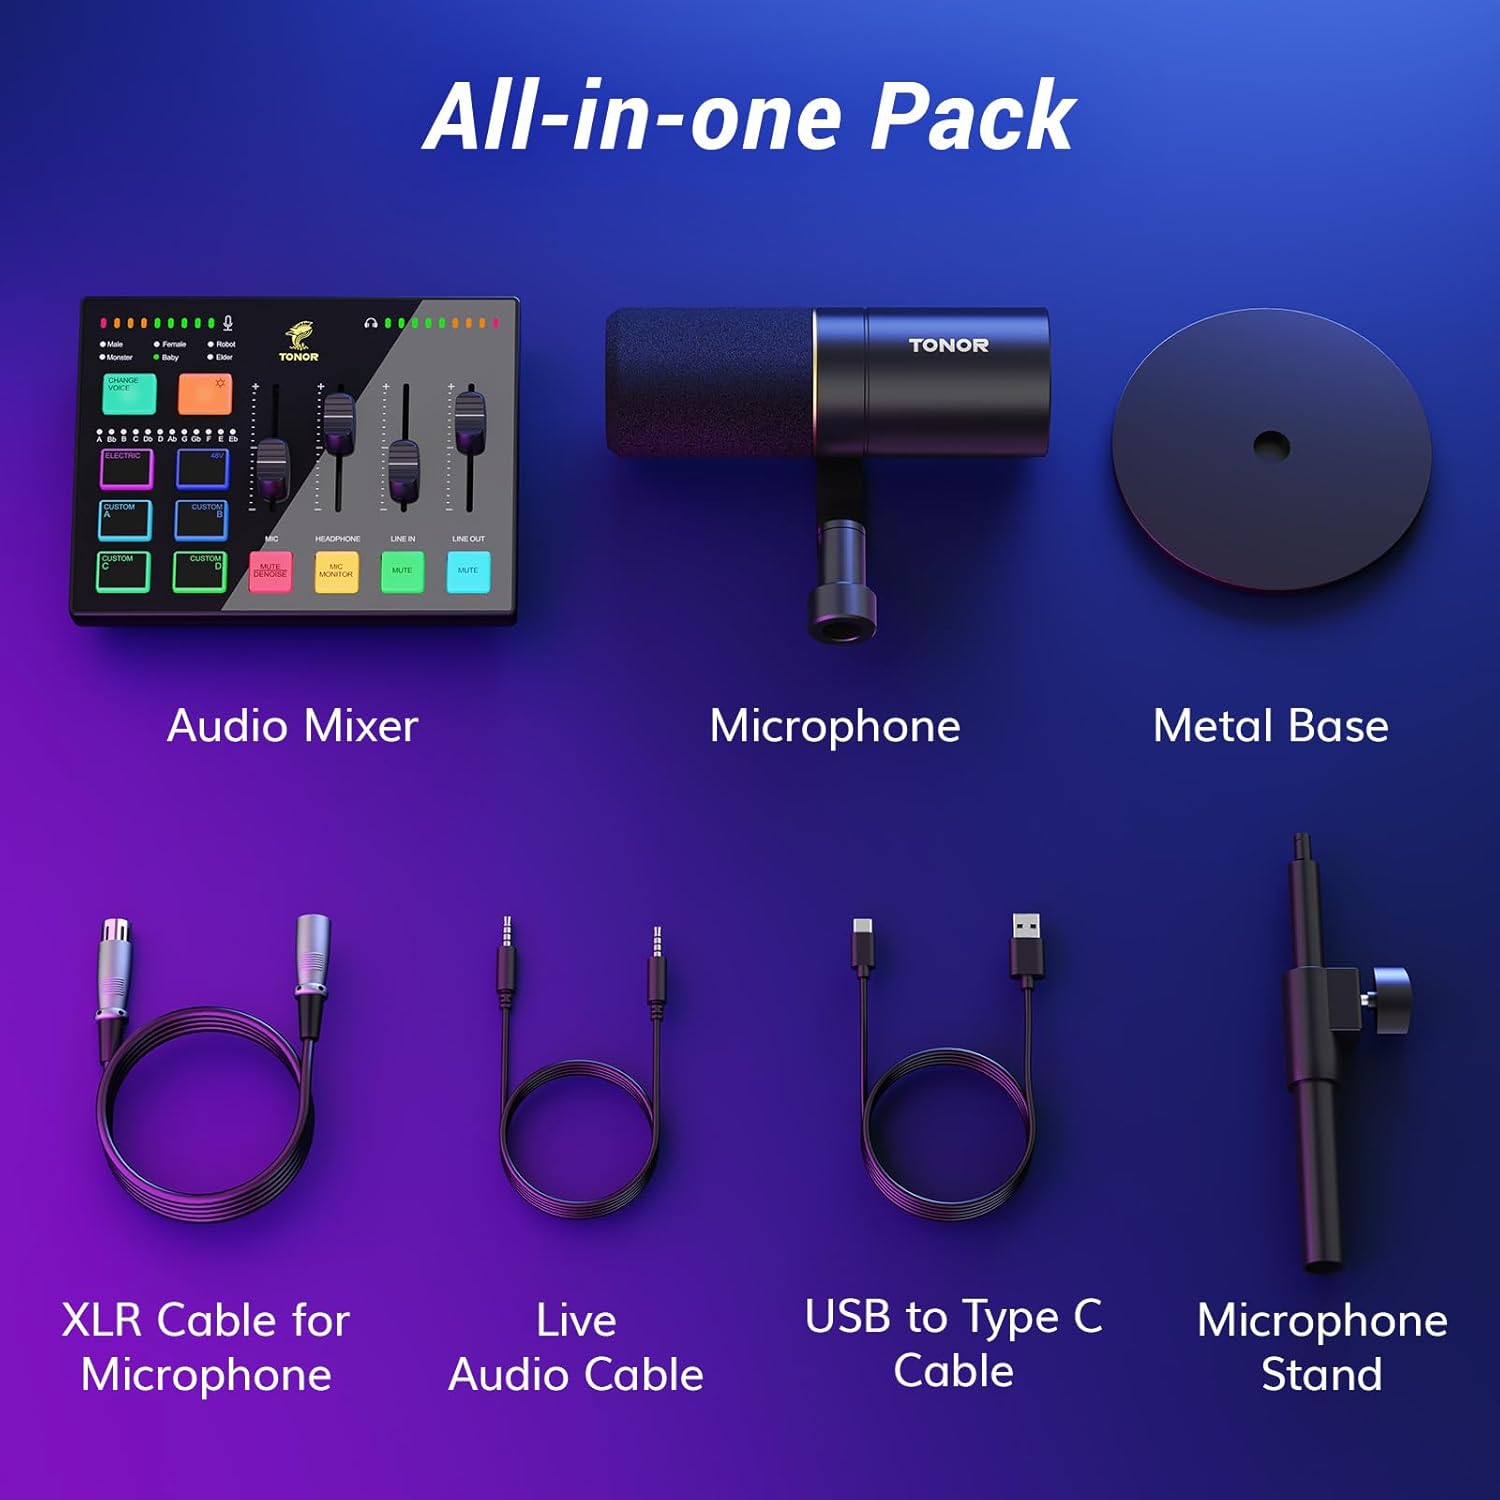
Image: Smoothly clear audio with noise reduction technology.
5. Pangropéa
To ensure the longevity and optimal performance of your TONOR Audio Interface and Microphone Set, follow these maintenance guidelines:
- beberesih: Use a soft, dry cloth to wipe down the surfaces of the mixer and microphone. Avoid using liquid cleaners or abrasive materials, as they can damage the components.
- Panyimpenan: When not in use, store the equipment in a clean, dry place away from direct sunlight and extreme temperatures.
- Perawatan kabel: Avoid bending or kinking cables excessively. Disconnect cables by grasping the plug, not the cable itself, to prevent internal wire damage.
- Protéksi Mikropon: Keep the microphone grille clean and free from dust. Consider using a pop filter to protect the microphone capsule from moisture and debris during use.
6. Cara ngungkulan
If you encounter issues with your TONOR Audio Interface and Microphone Set, refer to the following common troubleshooting tips:
- Taya Kaluaran Sora:
- Pariksa sadaya sambungan kabel pikeun mastikeun aranjeunna aman.
- Verify that the volume faders on the mixer are not at their minimum setting and that no channels are muted.
- Ensure the correct audio input/output device is selected in your computer's sound settings.
- Test with different headphones or speakers to rule out faulty peripherals.
- Microphone Not Detected/No Input:
- Confirm the XLR cable is firmly connected to both the microphone and the mixer.
- Check if the microphone is enabled and selected as the input device in your computer's sound settings or streaming software (e.g., OBS).
- Ensure the microphone channel on the mixer is not muted and its fader is raised.
- Audio distort:
- Reduce the input gain on the microphone channel to prevent clipping.
- Pariksa sambungan leupas atawa kabel ruksak.
- Pastikeun driver audio komputer anjeun tos diénggalan.
- Lampu RGB Teu Gawé:
- Ensure the mixer is properly powered via the USB connection.
- Press the RGB control button to cycle through modes or turn the lighting on/off.
If these steps do not resolve the issue, please contact TONOR customer support for further assistance.
7. Spésifikasi
| Fitur | Spésifikasi |
|---|---|
| Item Beurat | 4.22 pon |
| Dimensi produk | 11.61 x 8.23 x 3.54 inci |
| ASIN | B0DHGK14CW |
| Nomer Modél Item | PartialUpdate |
| Alat nu cocog | Headphone, Personal Computer, Speaker, XLR |
| Software Dirojong | Mac OS and Windows drivers, OBS streaming software |
| Sistem operasi | Windows, macOS |
| Sumber Daya | Kabel Listrik |
| merek | TONOR |
| Téhnologi konektipitas | AUX |
| Jumlah Saluran | 1 |
8. Garansi jeung Rojongan
TONOR products are designed for reliability and performance. For warranty information, product registration, or technical support, please visit the official TONOR websitus atanapi ngahubungan layanan palanggan maranéhanana langsung. Simpen resi pameseran anjeun pikeun klaim jaminan.